Home | Register | FAQ | Members List | Calendar | Today's Posts | Search |
Social Groups |
Registered
Members: 13,592 | Total Threads: 40,056 | Total Posts: 470,826 Currently Active Users: 831 (16 members and 815 guests) Welcome to our newest member, ikegumaf |
|
|
Thread Tools | Display Modes |
22-03-17, 04:21 PM | #11 |
Grown up member
Classic Audi Club Member
Join Date: May 2011
Location: Buxton
Posts: 745
|
Great write up, thanks for sharing
__________________
1988 MB quattro 2012 S4 Avant |
22-03-17, 09:41 PM | #12 |
Grown up member
Classic Audi Club Member
Join Date: Oct 2014
Location: Winchester, Hampshire
Posts: 161
|
__________________
2012 B8.5 [color="Red"]A4 2.0TFSI quattro Avant Black Edition - Lava Grey [color="Red"] - Current 2008 B7 S4 4.2 V8 Cabriolet - Moro Blue - Current 2005 B6 A4 3.0 Sport Cabriolet - Moro Blue - sold 2000 B4 80 2.6 Cabriolet Final Edition - Ming Blue - sold - & missed 2003 C5 A6 3.0 quattro Avant - Night Blue - current 1998 C5 A6 2.8 quattro Avant - Ming Blue - sold 1994 B4 80 2.6SE Avant - Indigo Pearl - sold - & missed 1993 B4 80 2.0 16V Sport - Gomera Green - sold |
22-03-17, 10:47 PM | #13 |
4 ring whore!
Classic Audi Club Member
Join Date: Feb 2014
Location: Near Watford.
Posts: 7,753
|
I like the look of that repair David and the way you went about it. Superb job!
|
23-03-17, 09:46 AM | #14 |
4 ring whore!
Join Date: Jan 2017
Posts: 3,124
|
Thanks for the comments boys and girls.
I fitted the door card last night and was disappointed with the fit of the new ends seals from Audi, however I though so much when I saw them on the panel prior to this. However not having any at all before I have no idea what an OE set should look like fitted, so if any of you nice people out there have a Coupe with a set of OE ones in good condition still fitted I would be most appreciative or a few photos of the fronts and rears form a few angles, thanks in advance, and there will be a cold brew waiting at the Goodwood Revival. ( the only event it looks like I will make this year given the amount of stuff I have to do ) So, here we have the fronts:- Rears:- On the rear you can see my comment, haven't a clue how this bit fits, just seems to get squashed out, the second pic shows it more clearly. |
23-03-17, 10:07 AM | #15 |
4 ring whore!
Join Date: Jan 2017
Posts: 3,124
|
Just got to repair the small tear in the vinyl on the corner, and the other issue is that 2 of the door card hooks on the outer edge have been broken off in the past, so the card doesn't sit flush with the door. I am going to use a couple of small black raised head self tappers with csk washers. They are the same ones MG's etc use on this door cards, fairly discrete and shouldn't show when the door is closed, don't have a choice really.
|
23-03-17, 12:25 PM | #16 |
4 ring whore!
Join Date: Jan 2017
Posts: 3,124
|
So on to the door pull, the plastic was coming away from the foam in places, and while there isn't a permanent repair I know of, this seemed to be the best option.
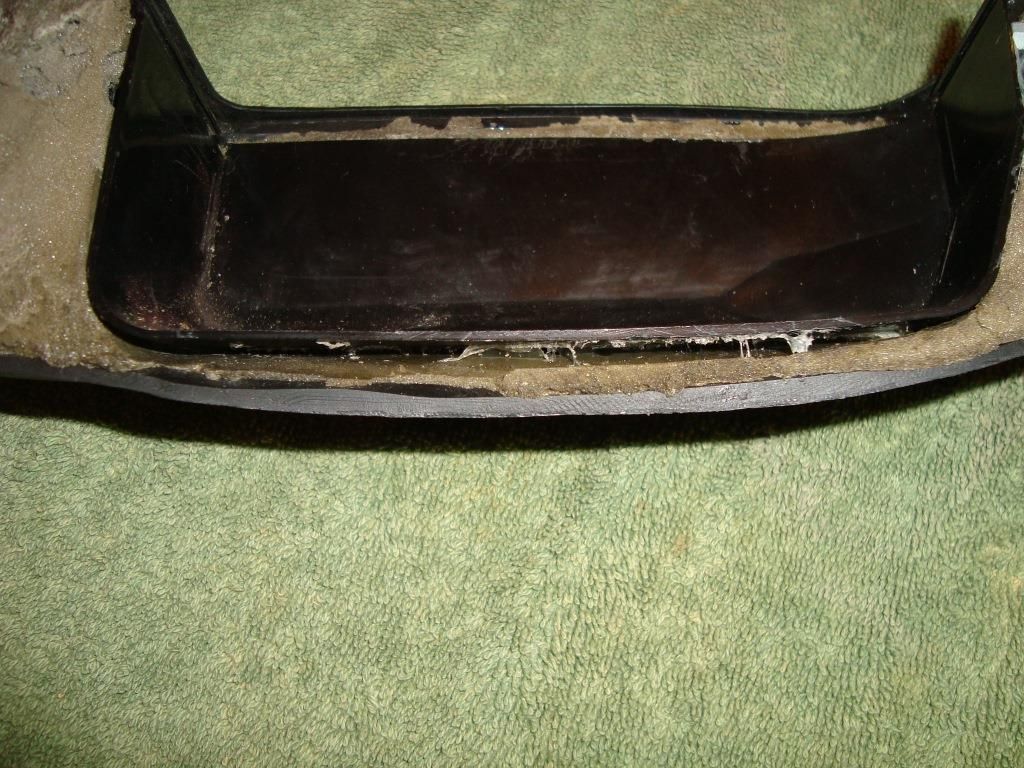
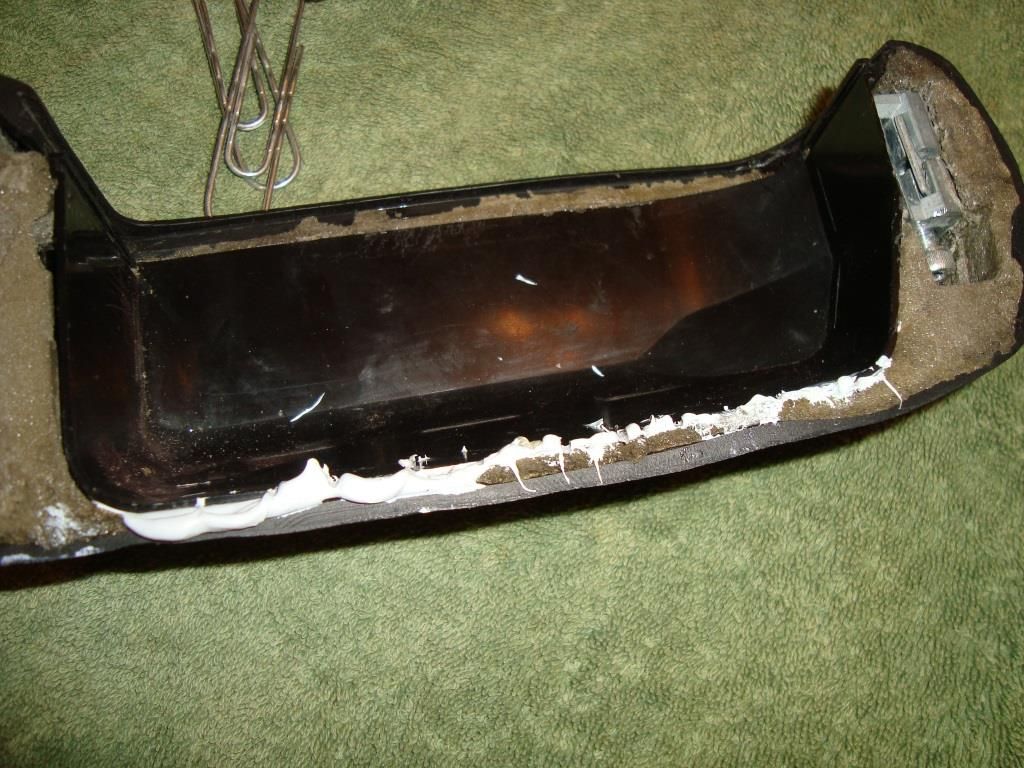
I cleaned out all the old crap and lose foam and then carefully squeezed in some PU adhesive. Just as a note Wurth is the dogs stuff here, but is £££££££, but Trade, Bulldog and a few others are almost as good, the extra £££ isn't worth it as this always seems to do the trick. Don't squeeze too much or it will stop the plastic squeezing flat, but you ned enough to fill all the little gaps in the foam etc, you know what I mean. As a note black PU would have been better but I usually keep grey as it is easier to paint over and cover, the black can bleed thru on some base coats until lots have been applied. Now to hold it together without marking the plastic and leaving permanent clamp marks. 
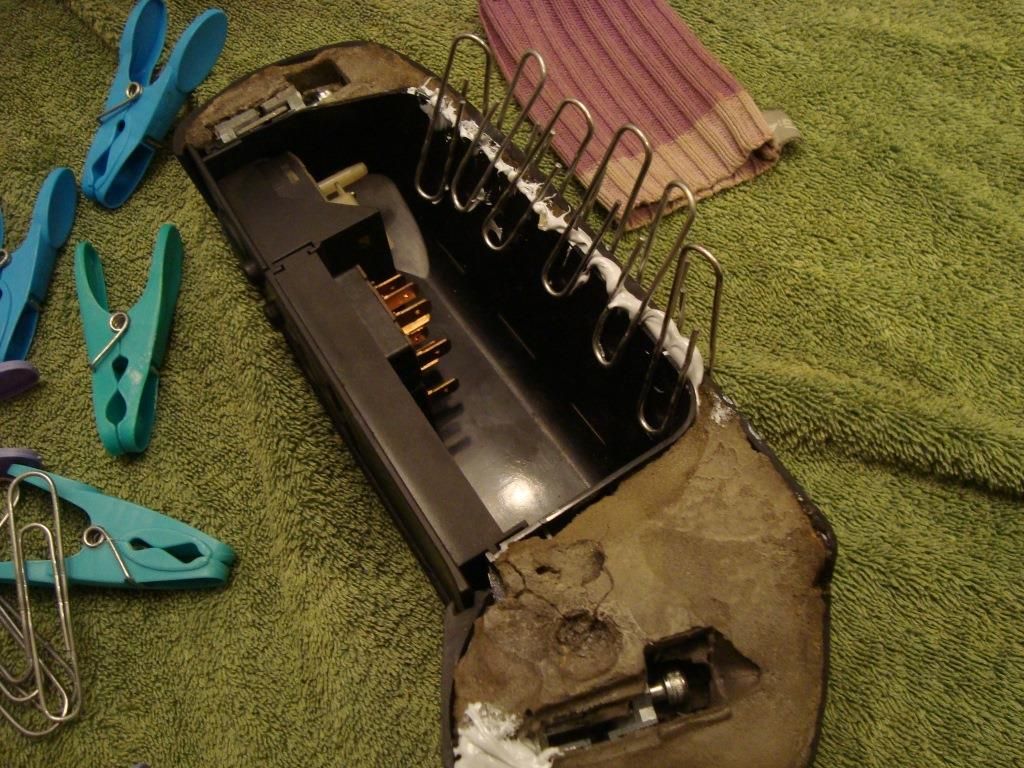
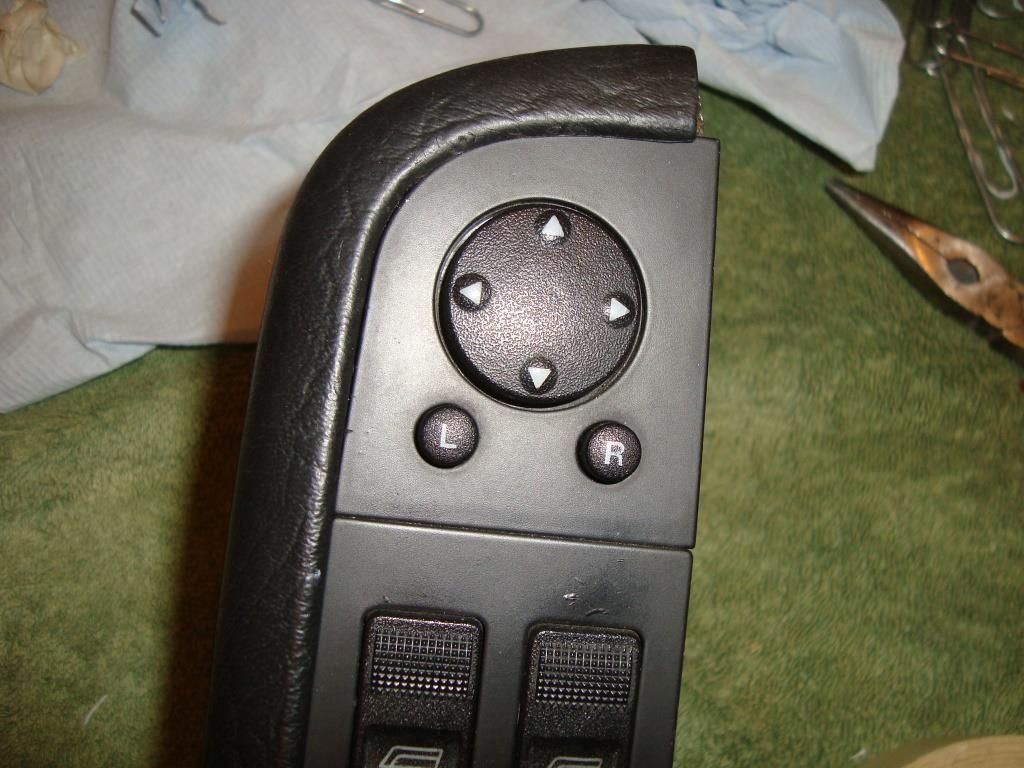
Big paperclips did the trick 
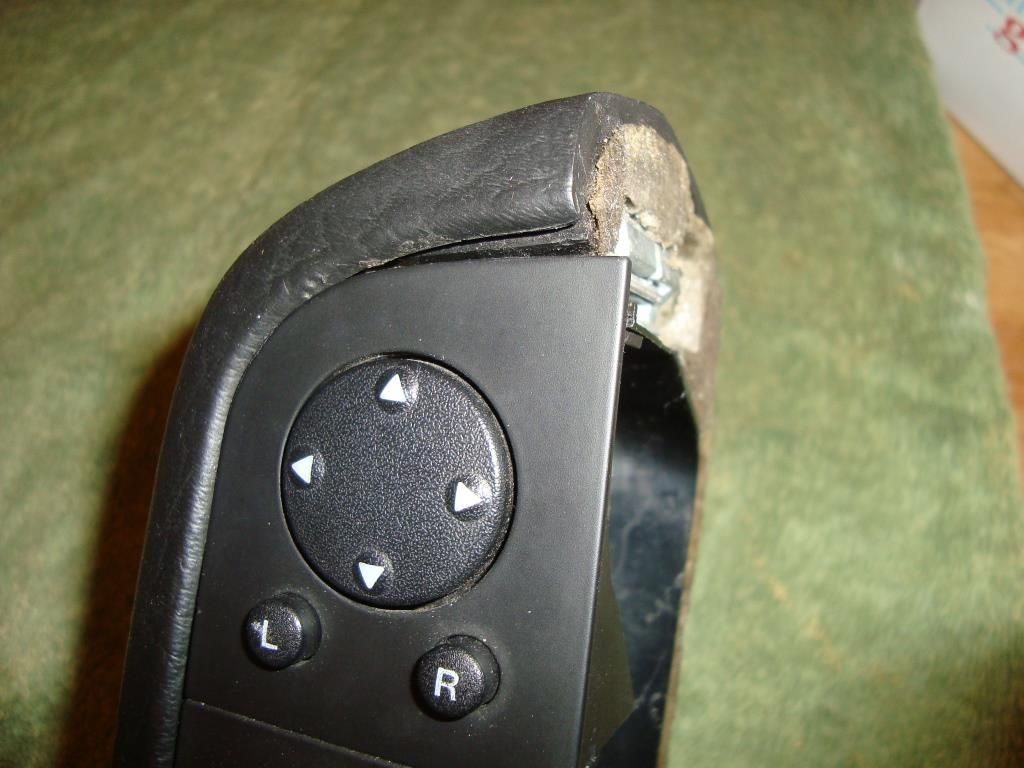
And it stuck and held. Trim off excess. |
23-03-17, 12:33 PM | #17 |
4 ring whore!
Join Date: Jan 2017
Posts: 3,124
|
This was more tricky, the plastic was pulling away leaving the switch panel not securely slotted in
So I carefully lifted the plastic away and masked up the metal clamp where I didn't want any PU to stick to it, or I might not be able to clamp the handle back onto the fixing on the door card. Also a bit of tape on the switch panel to avoid this being permanently bonded in place. Again a good squeeze of PU into the missing foam gaps and where the bits should stick together. Once had it right where it was needed I slotted, carefully the switch panel back in then wrapped masking tape around the complete lot to pull the plastic in tight. |
23-03-17, 12:36 PM | #18 |
4 ring whore!
Join Date: Jan 2017
Posts: 3,124
|
|
23-03-17, 02:45 PM | #19 |
4 ring whore!
Classic Audi Club Member
Join Date: Jan 2010
Location: Where a spike points skywards
Posts: 12,960
|
Nice one David
I have some leather trim to fit to the doorcards in my black coupe, luckily for me the orange crap has been removed already but the replacement foam wasn't good either, that will be easy to get off when the time comes though. Keep up the good work. |
23-03-17, 03:17 PM | #20 |
4 ring whore!
Classic Audi Club Member
Join Date: Feb 2014
Location: Near Watford.
Posts: 7,753
|
Superb job David,this is going to help a lot of people i think as so many including me get caught out with the special fixings when attempting to take take these of. Audi is NLA so this repair you've proved will be immensely helpful! You go top of the class for this!
|
Bookmarks |
|
|