Home | Register | FAQ | Members List | Calendar | Today's Posts | Search |
Social Groups |
Registered
Members: 13,703 | Total Threads: 40,056 | Total Posts: 470,826 Currently Active Users: 731 (18 members and 713 guests) Welcome to our newest member, tovihosdac |
|
|
Thread Tools | Display Modes |
22-03-17, 03:15 PM | #1 | |
4 ring whore!
Join Date: Jan 2017
Posts: 3,124
|
Door card refurb
Boys and girls
One of the jobs I have had to do is fit new seals on the ends of the door cards and fix the baggy covering if I am going to get the Coupe looking tidy-ish. I'm sure they have been documented before but a few said post a write up, so here it is. I hope it helps out in some way for someone, if not reading this has kept you busy at work for a few minutes anyway, so here goes, any questions please ask away:- The old cards were grubby and the material looking as baggy as a 50 year old hookers undies I wasn't sure how the material was finished where it met the plastic, so gently peeling it back revealed it is just pushed in between the foam and the plastic and is sort of held there by friction and the tight fit. |
|
22-03-17, 03:26 PM | #2 |
4 ring whore!
Join Date: Jan 2017
Posts: 3,124
|
The trim finisher is held on with daisy washers, other names also, as these are pennies to replace it is better to just cut them off rather than trying to save them and bust a pin off the trim.
But first get the insulation backing off, these sprung washers are quite large and easier to take off in one piece |
22-03-17, 03:34 PM | #3 |
4 ring whore!
Join Date: Jan 2017
Posts: 3,124
|
Now to the foam that every one moans about, they were right is was dreadful.
A trial scrape showed that it appeared to leave the sticky backing on the door card, and I remembered years ago I did something similar, so gently rubbing and picking found an edge to the sticky sh*t stuff And by being careful I was able to peal it off in one go, wrapping it over in its self, just little tiny bits to pick off. |
22-03-17, 03:37 PM | #4 |
4 ring whore!
Join Date: Jan 2017
Posts: 3,124
|
|
22-03-17, 03:45 PM | #5 |
4 ring whore!
Join Date: Jan 2017
Posts: 3,124
|
One thing that kept nagging me was that with the usual scrim foam it is open cell usually, and despite possibly getting it with one side with a self adhesive film on, one side would need spray glue, and this being open cell foam it would bleed thru and possibly cause the same effect eventually as the OE sticky sh*tty stuff.
Also the other problem with scrim foam and open cell foam is once you have stuck the material finish back on any finger pressure or touching it can leave dimple and indentation that can take ages to come out or never as the glue can have a tendency to stick the covering material to the door card, by the fact it is open cell foam, if you get my long winded rambling. I spoke to an old trimmer mate who advised to use 3mm closed cell foam, this should eliminate that problem, but is more difficult to work with. So 1 evilbay purchase later ( and approx 3 times as much ) the door card was masked and the foam stuck on. |
22-03-17, 03:54 PM | #6 |
4 ring whore!
Join Date: Jan 2017
Posts: 3,124
|
Hopefully not teaching anyone to suck eggs, mask up the door to avoid spray glue getting on to areas not needed, especially into the recess where the glue and material needs to be "poked" into, but not on the exposed side of the door card.
Let the glue on both side tack off, then align on the panel and gently press the foam onto the panel. Before you get close to the recess where the foam and material finish peel off the masking tape, this will allow you to push the foam right down into recess as the glue on the foam wont stick to the panel, as you have removed the masking tape with glue on it. I used a wide plastic trim tool to push into the groove which also helped to trim the excess by cutting/scribing a line in the groove. If you understand that you are better than me |
22-03-17, 04:00 PM | #7 |
4 ring whore!
Join Date: Jan 2017
Posts: 3,124
|
Sorry but the camera cocked up and lost the next few photos, or I did, however mask up and apply the material finish exactly the same as the foam, removing the making tape to allow the material to tuck right down into the groove, the foam making a nice tight fit and finish.
I gently cleaned mine with a carpet cleaner and brush prior to fitting and laid flat to dry. New daisy washers/clips and the special fitting tool, 6mm nut spinner, and the wood trim fitted. The marks on the velour material finish are just hand marks where I have been brushing it down. |
22-03-17, 04:04 PM | #8 |
4 ring whore!
Join Date: Jan 2017
Posts: 3,124
|
|
22-03-17, 04:14 PM | #9 |
4 ring whore!
Join Date: Jan 2017
Posts: 3,124
|
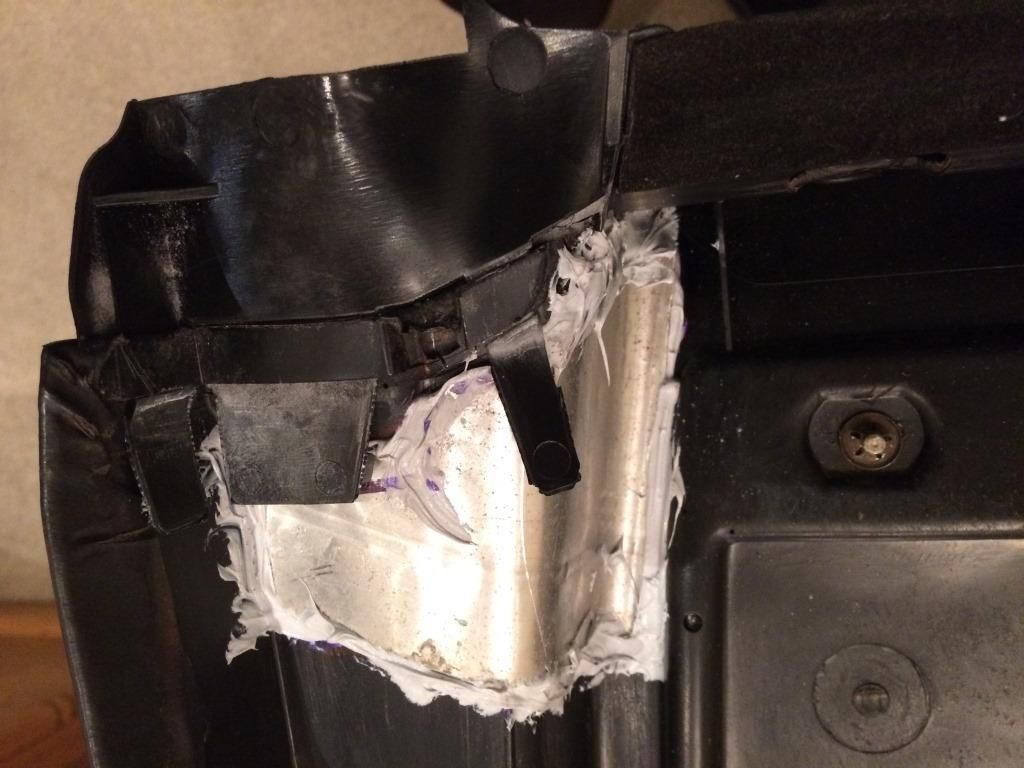
The next few photos are the rubber end finishers, ordered from Audi Traditional or whatever in Germany.
They fit into little slots in the panel, but be careful, the new finishers are wider on some tabs than the slots, check first or I can see one of the tabs being broken off and tears. Also when fitting rubber items in tight places, rather than I suspect you lot immediately grabbing for the Vaseline or KY, try talcum powder, its works extremely well and cleans off with damp cloth without leaving any residue or trace behind 
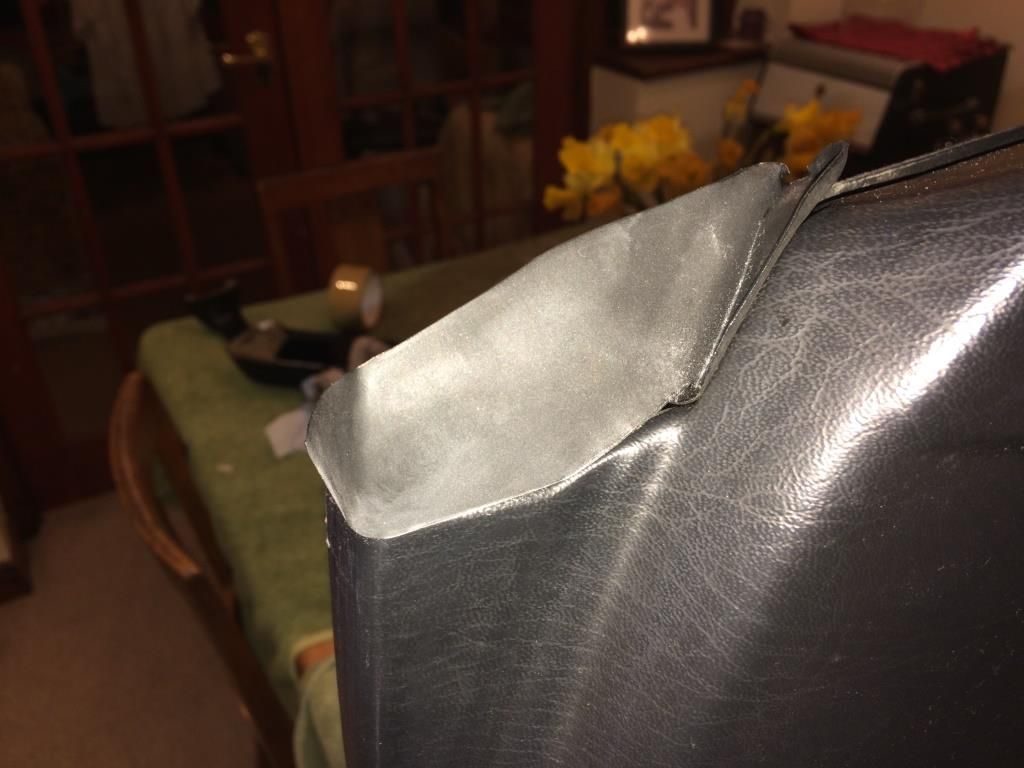
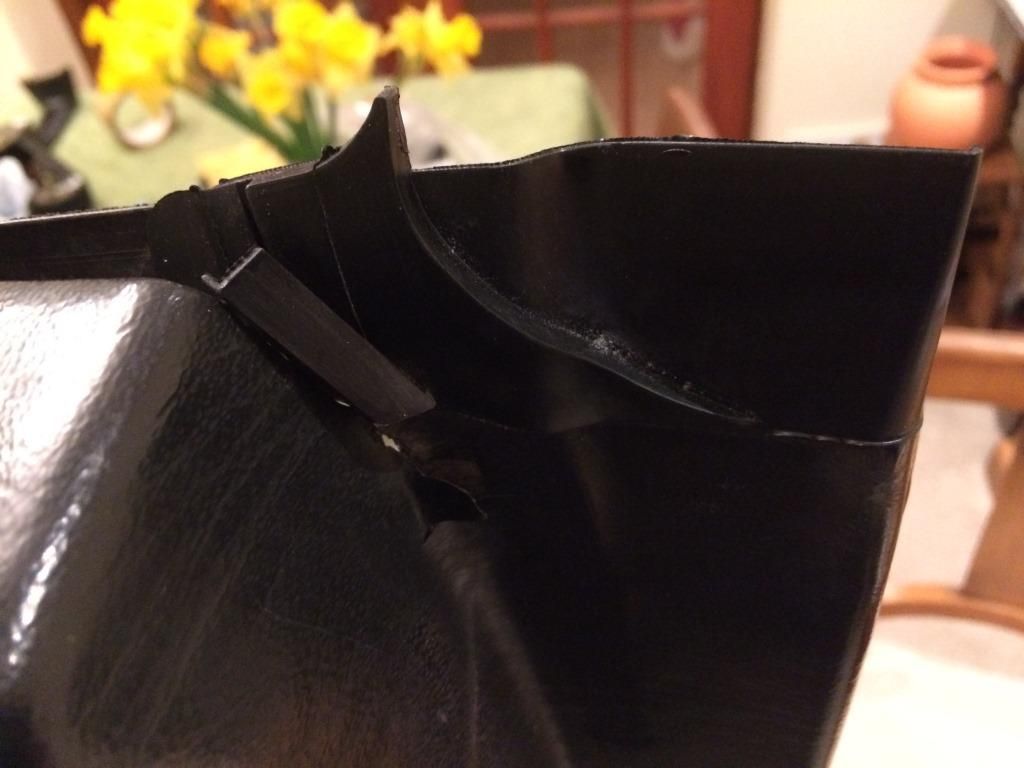
The fit isn't good on these, when I fit the card back on I will take a few more photos, there are a few bits on the new seals that I cant see where they are meant to sit, once its on it may help. |
22-03-17, 04:19 PM | #10 |
4 ring whore!
Join Date: Jan 2017
Posts: 3,124
|
I will continue this with the repair of the arm rest door pull. It separated from the foam in a few places and needed sticking back together, to be continued:-
|
Bookmarks |
|
|