Classic Audi » Technical » Mech/Tech » Interior » Door card refurb

Reply
 
Thread Tools Display Modes
Old 22-03-17, 03:15 PM   #1
Davids
4 ring whore!
 
Join Date: Jan 2017
Posts: 3,124
Default Door card refurb

Boys and girls
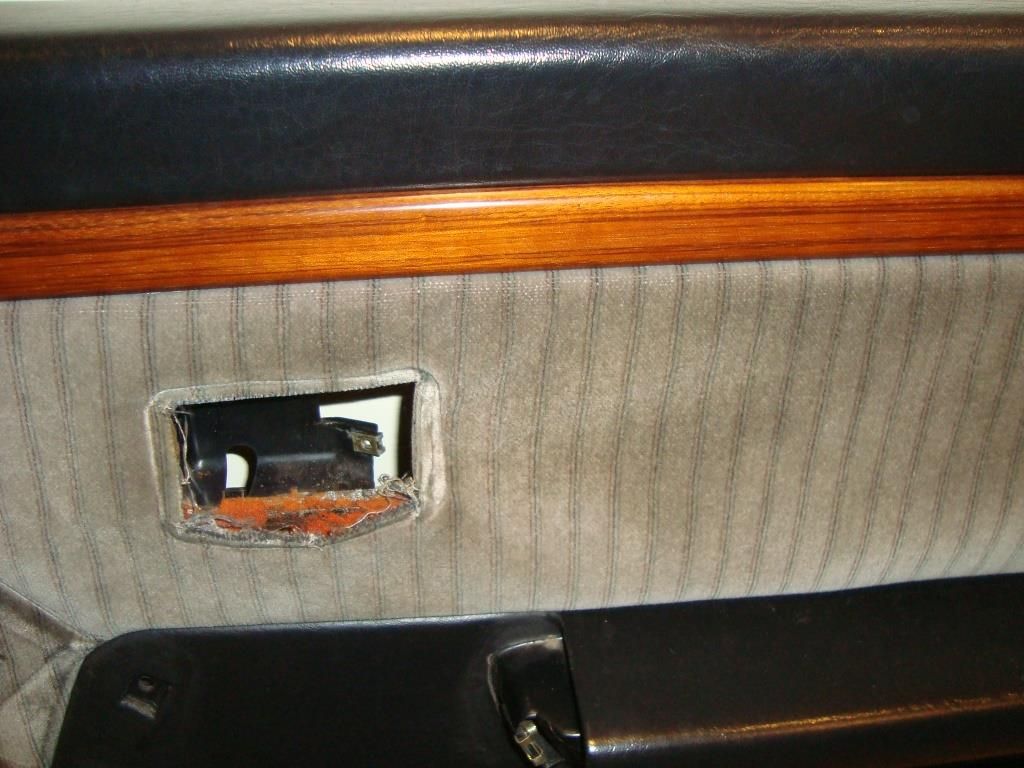
One of the jobs I have had to do is fit new seals on the ends of the door cards and fix the baggy covering if I am going to get the Coupe looking tidy-ish.
I'm sure they have been documented before but a few said post a write up, so here it is.
I hope it helps out in some way for someone, if not reading this has kept you busy at work for a few minutes anyway, so here goes, any questions please ask away:-

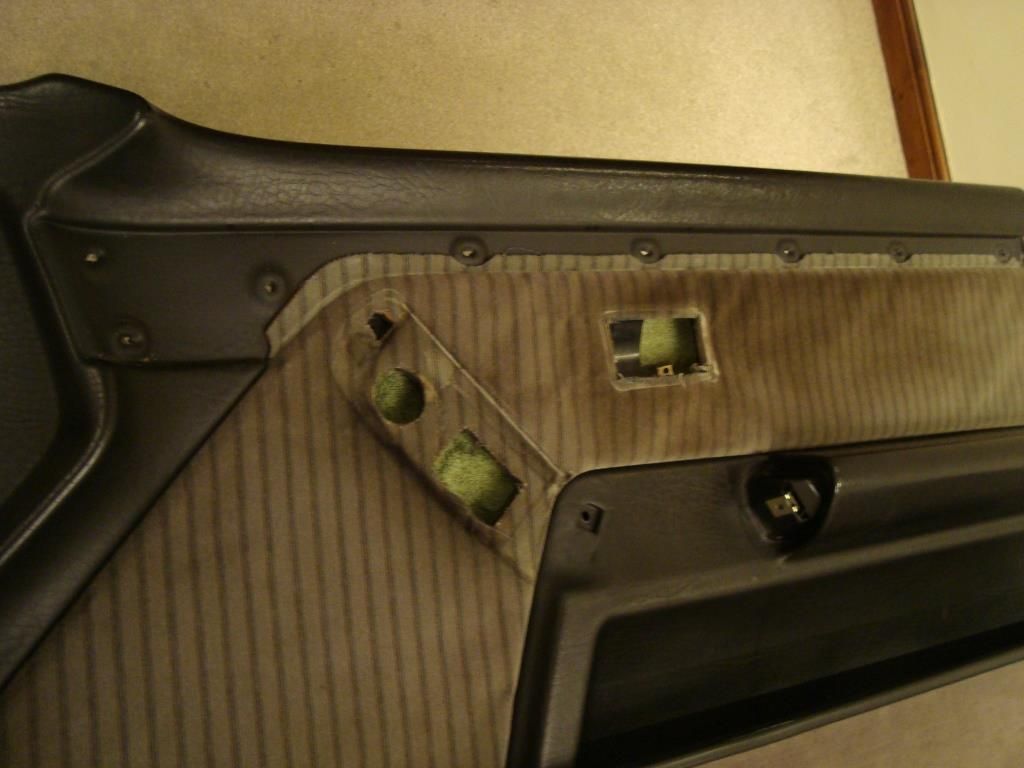
The old cards were grubby and the material looking as baggy as a 50 year old hookers undies


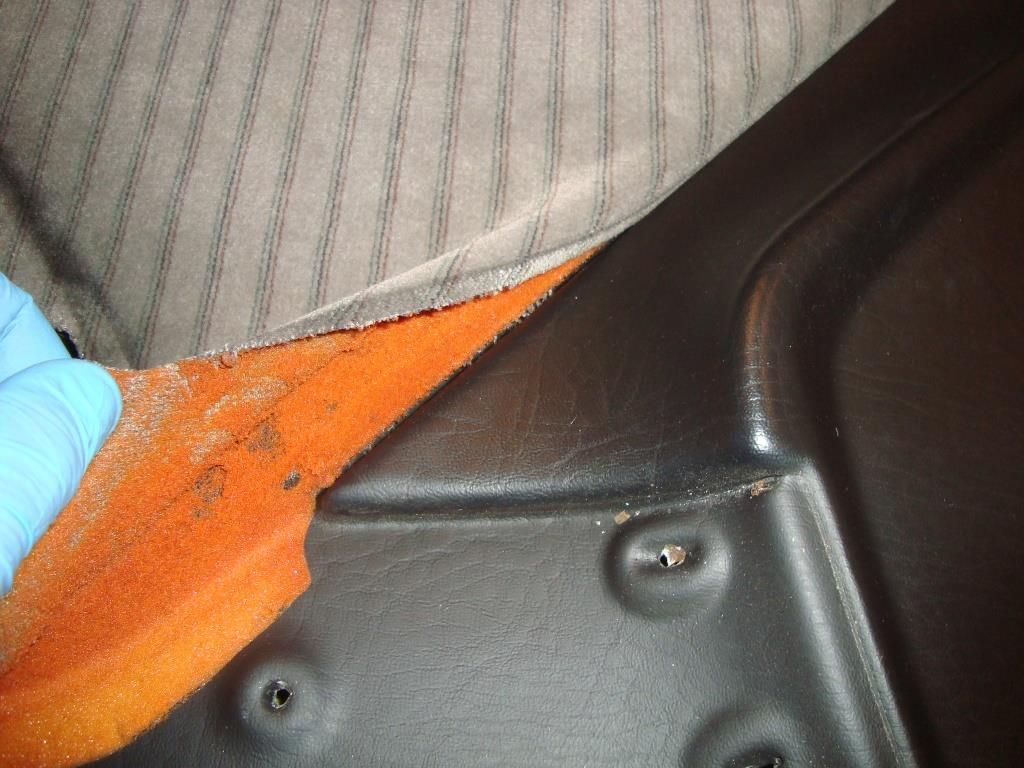
I wasn't sure how the material was finished where it met the plastic, so gently peeling it back revealed it is just pushed in between the foam and the plastic and is sort of held there by friction and the tight fit.

Davids is offline   Reply With Quote
Old 22-03-17, 03:26 PM   #2
Davids
4 ring whore!
 
Join Date: Jan 2017
Posts: 3,124
Default

The trim finisher is held on with daisy washers, other names also, as these are pennies to replace it is better to just cut them off rather than trying to save them and bust a pin off the trim.


But first get the insulation backing off, these sprung washers are quite large and easier to take off in one piece

Davids is offline   Reply With Quote
Old 22-03-17, 03:34 PM   #3
Davids
4 ring whore!
 
Join Date: Jan 2017
Posts: 3,124
Default

Now to the foam that every one moans about, they were right is was dreadful.
A trial scrape showed that it appeared to leave the sticky backing on the door card, and I remembered years ago I did something similar, so gently rubbing and picking found an edge to the sticky sh*t stuff


And by being careful I was able to peal it off in one go, wrapping it over in its self, just little tiny bits to pick off.


Davids is offline   Reply With Quote
Old 22-03-17, 03:37 PM   #4
Davids
4 ring whore!
 
Join Date: Jan 2017
Posts: 3,124
Default

The corner of the door card was cracked so this seemed a good time to repair it.


I shaped a thin bit of ally, check it cleared and good old PU adhesive to the rescue again. The ally was thin enough to give some support but allow a bit of flex when I screw it back in place.

Davids is offline   Reply With Quote
Old 22-03-17, 03:45 PM   #5
Davids
4 ring whore!
 
Join Date: Jan 2017
Posts: 3,124
Default

One thing that kept nagging me was that with the usual scrim foam it is open cell usually, and despite possibly getting it with one side with a self adhesive film on, one side would need spray glue, and this being open cell foam it would bleed thru and possibly cause the same effect eventually as the OE sticky sh*tty stuff.

Also the other problem with scrim foam and open cell foam is once you have stuck the material finish back on any finger pressure or touching it can leave dimple and indentation that can take ages to come out or never as the glue can have a tendency to stick the covering material to the door card, by the fact it is open cell foam, if you get my long winded rambling.

I spoke to an old trimmer mate who advised to use 3mm closed cell foam, this should eliminate that problem, but is more difficult to work with. So 1 evilbay purchase later ( and approx 3 times as much ) the door card was masked and the foam stuck on.


Davids is offline   Reply With Quote
Old 22-03-17, 03:54 PM   #6
Davids
4 ring whore!
 
Join Date: Jan 2017
Posts: 3,124
Default

Hopefully not teaching anyone to suck eggs, mask up the door to avoid spray glue getting on to areas not needed, especially into the recess where the glue and material needs to be "poked" into, but not on the exposed side of the door card.

Let the glue on both side tack off, then align on the panel and gently press the foam onto the panel. Before you get close to the recess where the foam and material finish peel off the masking tape, this will allow you to push the foam right down into recess as the glue on the foam wont stick to the panel, as you have removed the masking tape with glue on it.

I used a wide plastic trim tool to push into the groove which also helped to trim the excess by cutting/scribing a line in the groove.

If you understand that you are better than me
Davids is offline   Reply With Quote
Reply

Bookmarks


Posting Rules
You may not post new threads
You may not post replies
You may not post attachments
You may not edit your posts

BB code is On
Smilies are On
[IMG] code is On
HTML code is Off
Forum Jump


All times are GMT. The time now is 07:01 PM.

Powered by vBulletin®
Copyright ©2000 - 2024, Jelsoft Enterprises Ltd.
Copyright ©2007-2008 Classic Audi | Site by Roadrunna