Hi folks... so heres my write up on re-tensioning my front seat belts on my cabriolet.
Tools...
17mm socket and wrench..or spanner..
Some sort of tri removal tool..
Philips screwdriver....
Very small pointy screwdriver..or maybe a Stanley blade..
5mm Allen/hex, ratchet and extension..
So hopefully this makes sense...
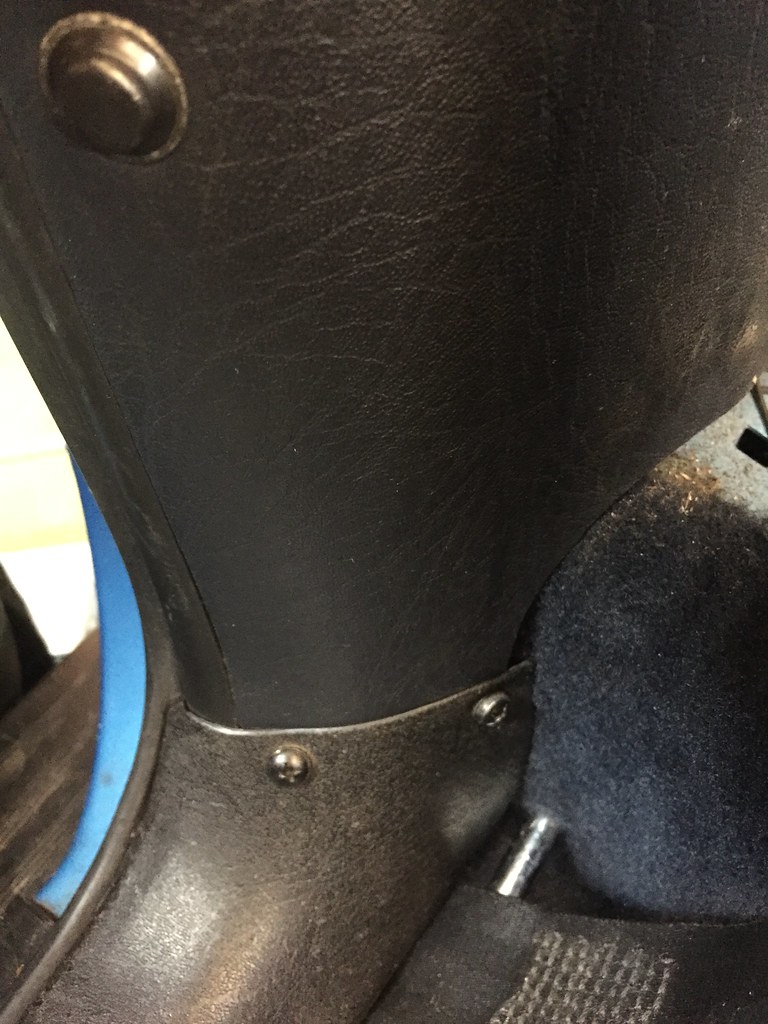
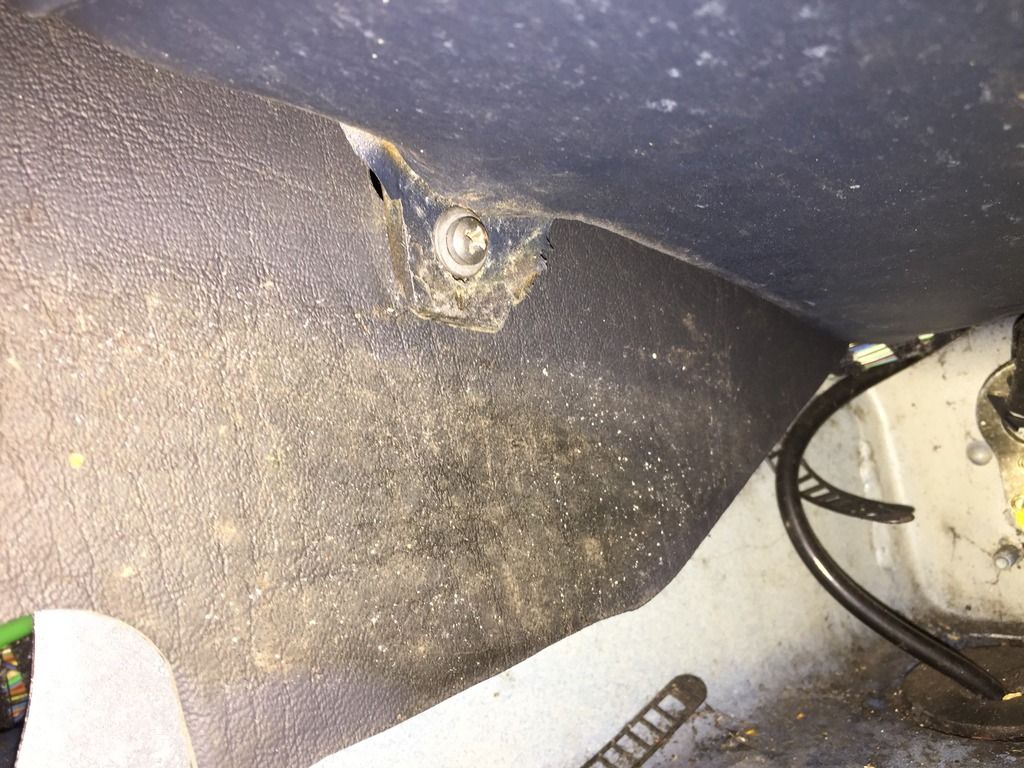
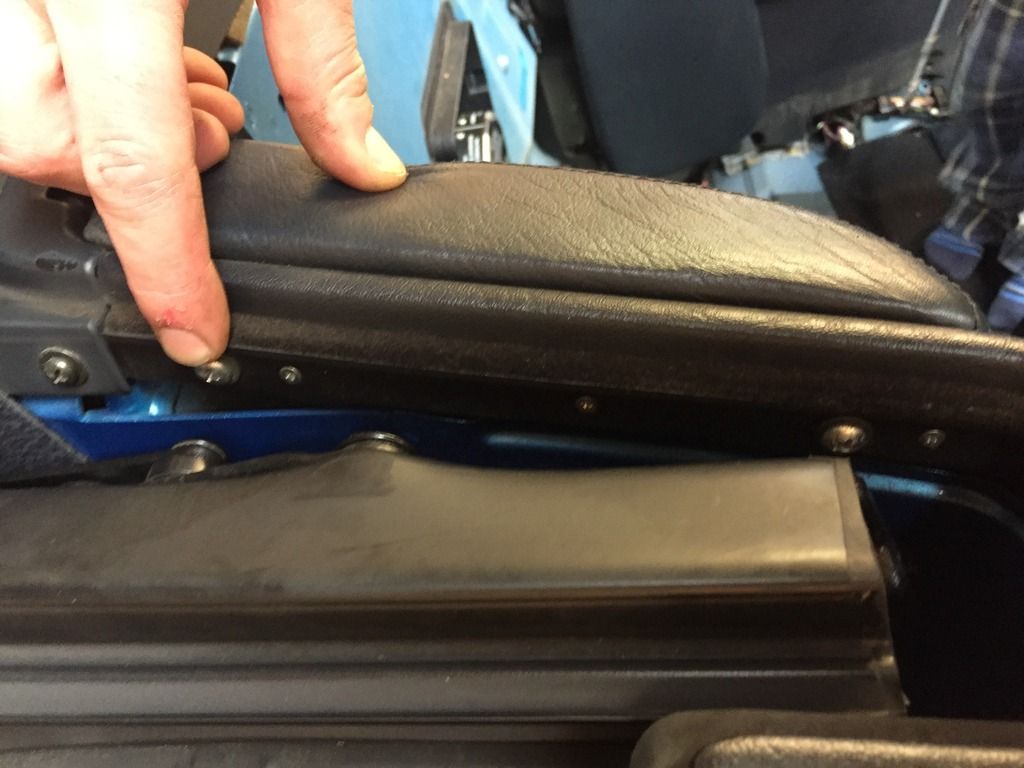
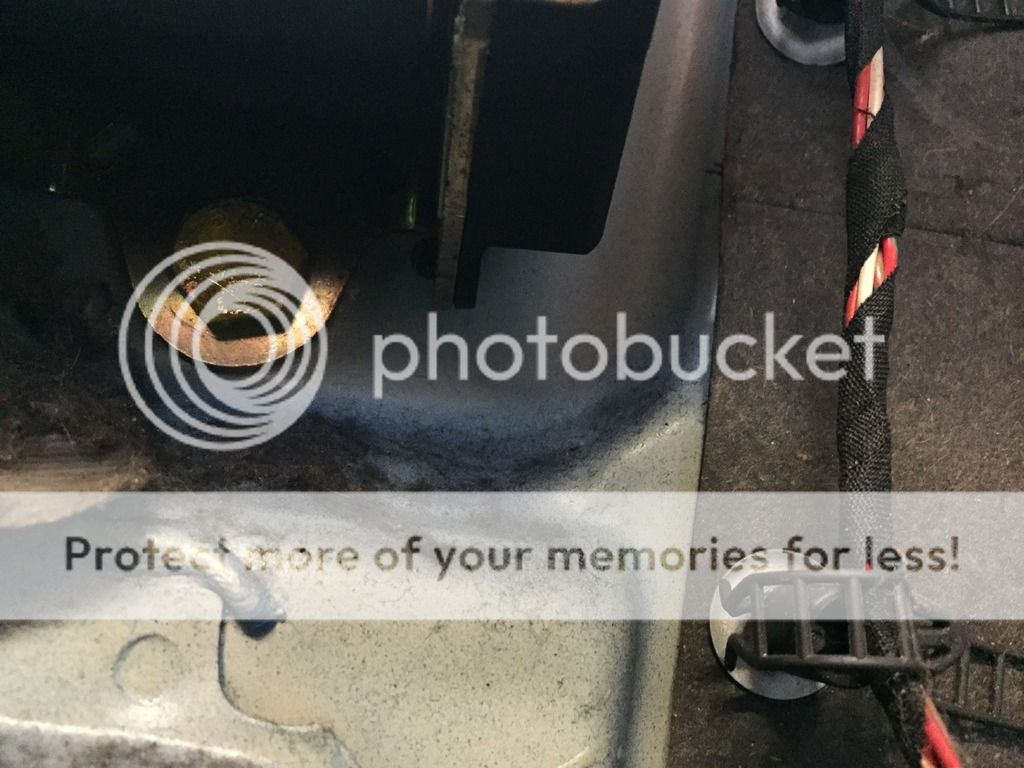
First off you need to remove the trim along the bottom of door well, kickplate type thingy...there are two screws at the aft end of it and a black blank type cover just below them.. remove them all...
 930EB1E4-EDFC-49E8-9822-605AEAE7740F
 by
Guy McCallum, on Flickr
It then lifts up from this end and comes off around the silver bar, holding the seat belt end, take your time here not to break the plastic trim... it then lifts up out of securing clips, it takes a bit of a pull but should come up fine, its not attached at the front end at all.
Next remove the back seat base and upright...
Straight forward.. two screws holding each part.. the base has then at the front of it, and the upright at the bottom, both obvious when you go looking.. this one is the base..
This is the upright... its to the left of the seat belt...
The upright then pulls upwards, its hooked in to the bit Im pointing at..
Once these have been removed you can remove the side bolsters.. held in with i think two screws.. one at the bottom and then one screwed in to the side panel itself.. oh and then two longer screws at the top on the inside... youll need the roof down, either totally or enough to get at this area..
Side one..
Bottom one...
Two like this at the top..
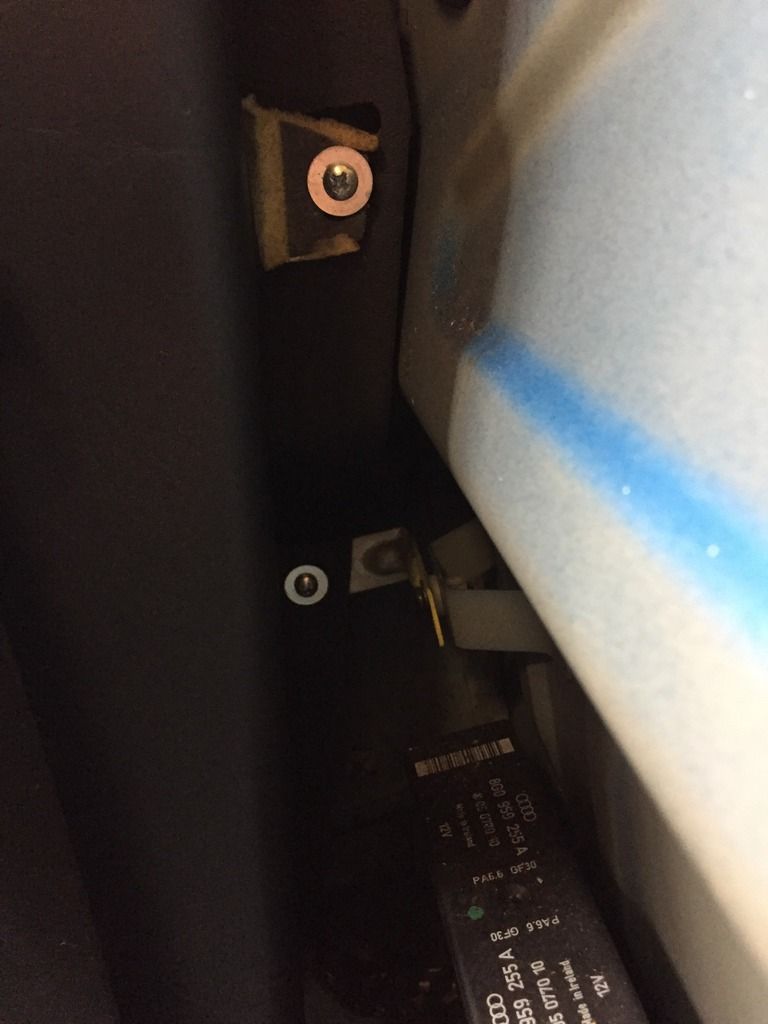
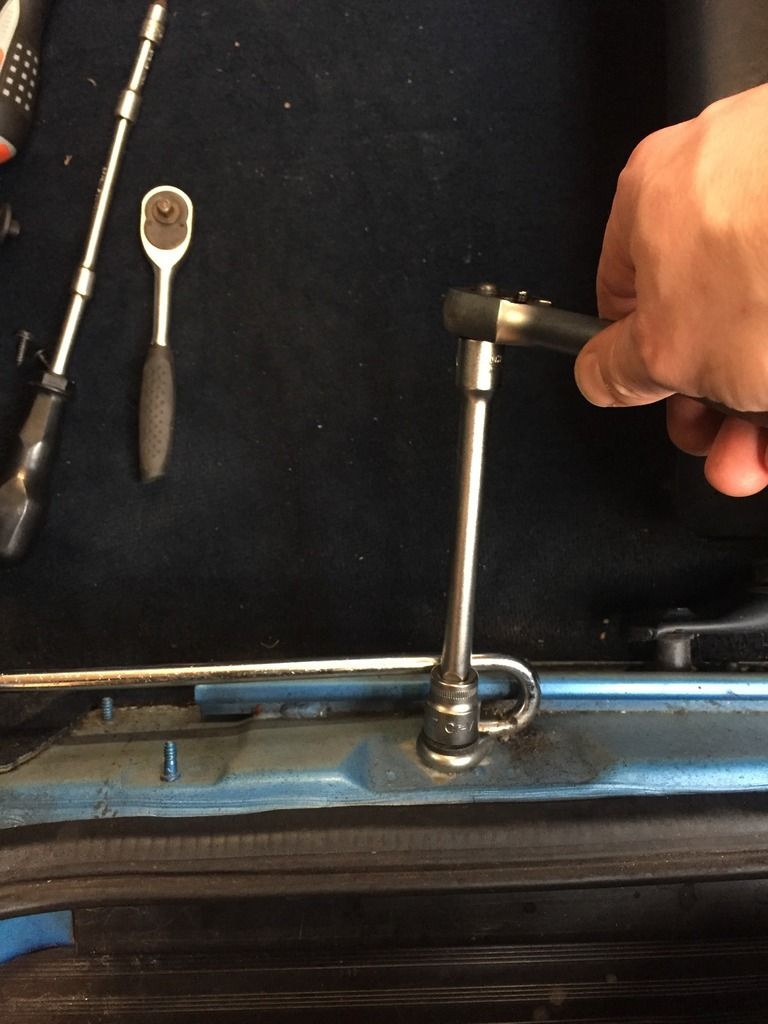
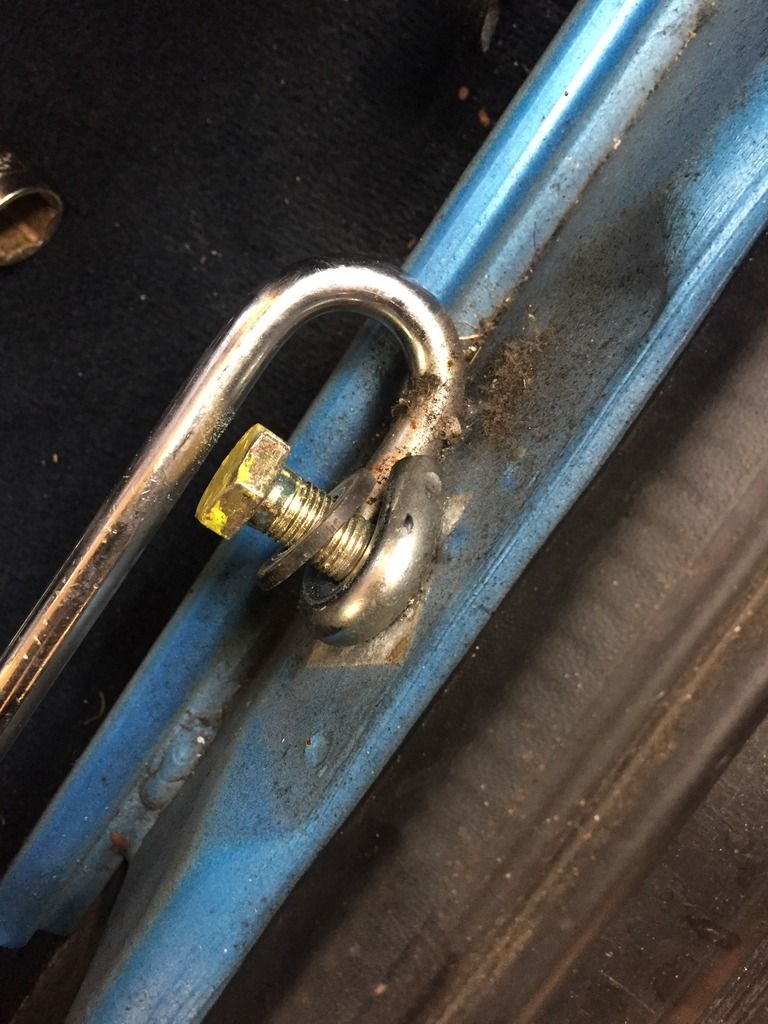
Now you can remove the 17mm bolt out from the bottom silver rail, note the position of the washer..
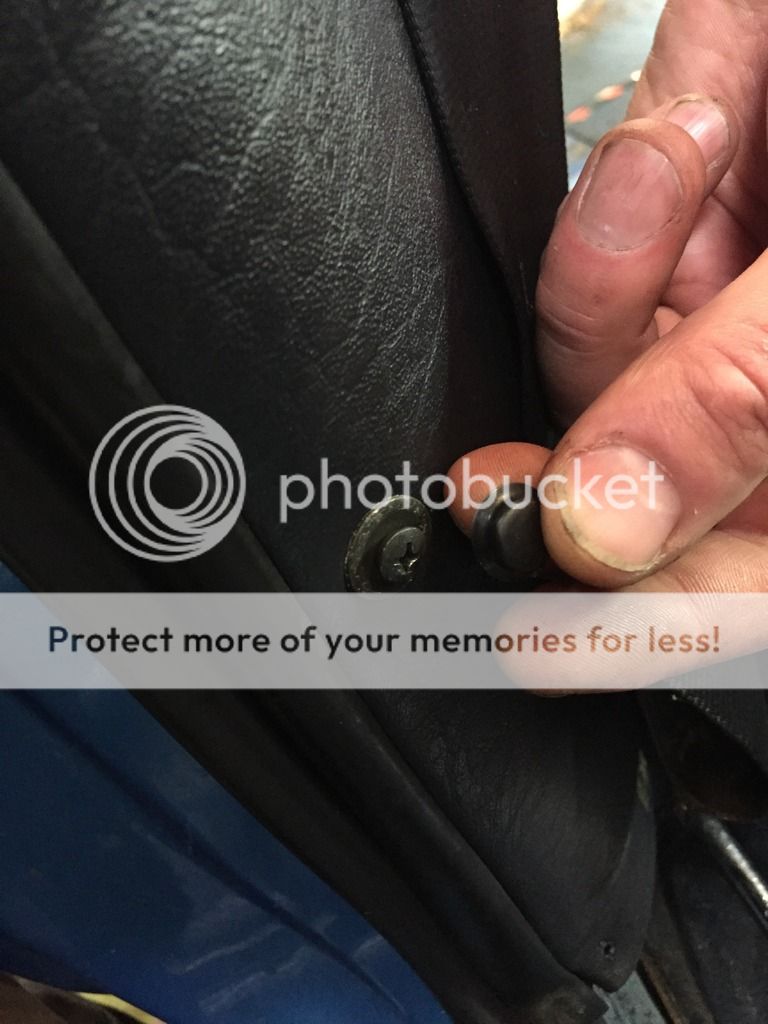
After that, remove the small black cover on the screw half way up the front edge of the side panel, this reveals the screw to be removed.. Take your small pointy tool to get this cap off, and take your time, for me, it wasnt that keen to come off, and I didnt want to damage it..

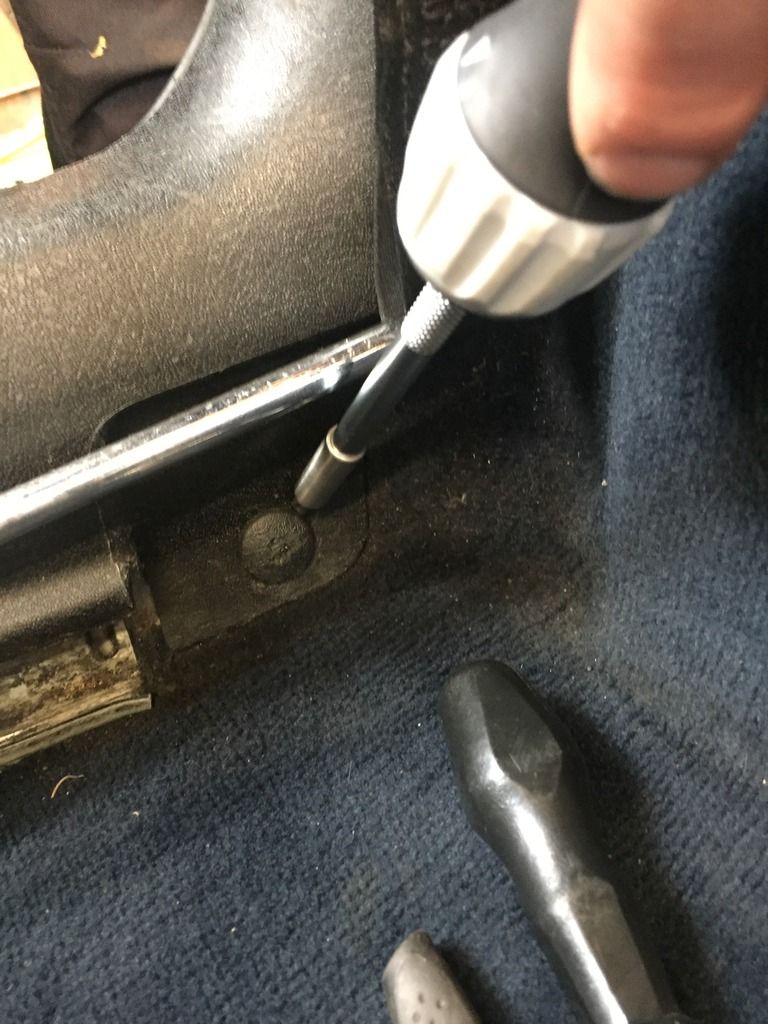
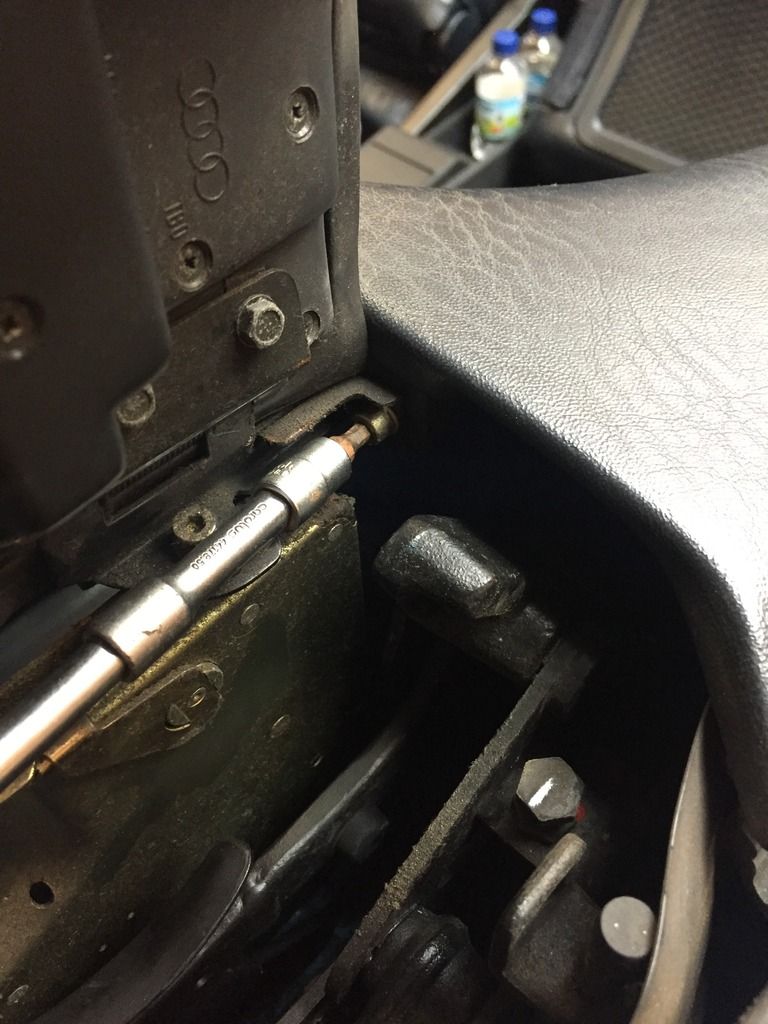
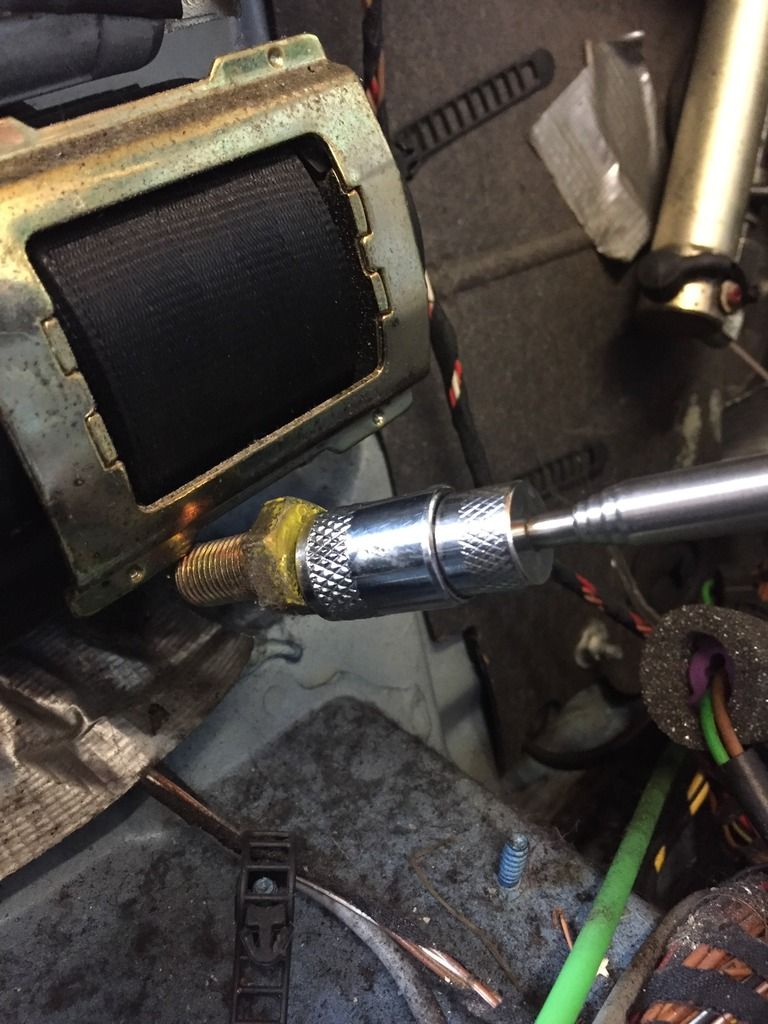
With the side bolster removed, you can see there are a few screws at the back of the side panel,, remove these.. then there are 4 more screws at the top to remove, two of these are 5mm hex which attach the small flap bit to the side panel.. and then theres two more screws to remove... see photos..
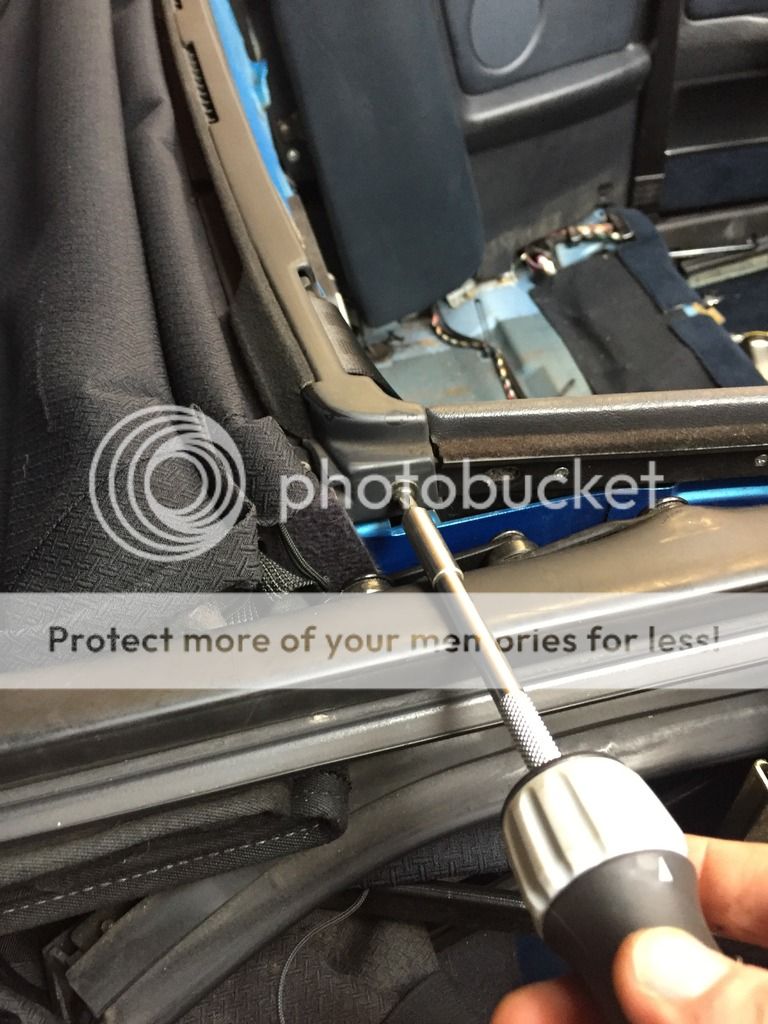
The other tool in this pic is a extending magnetic pick up tool.. so that i dont drop the screw down...

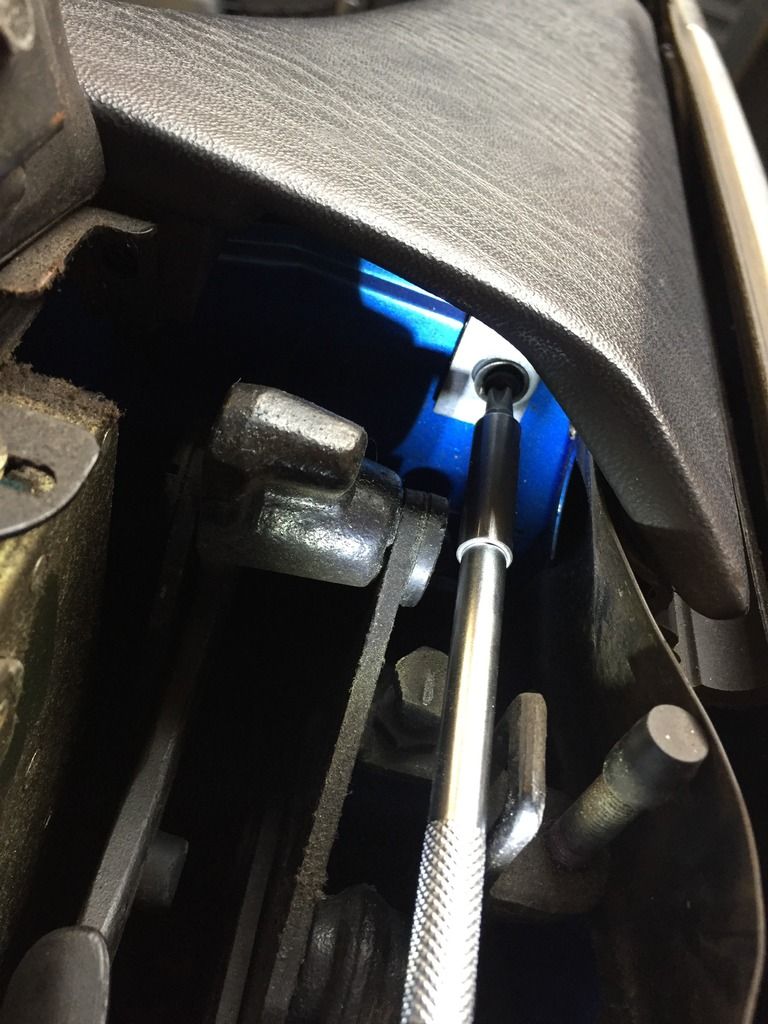
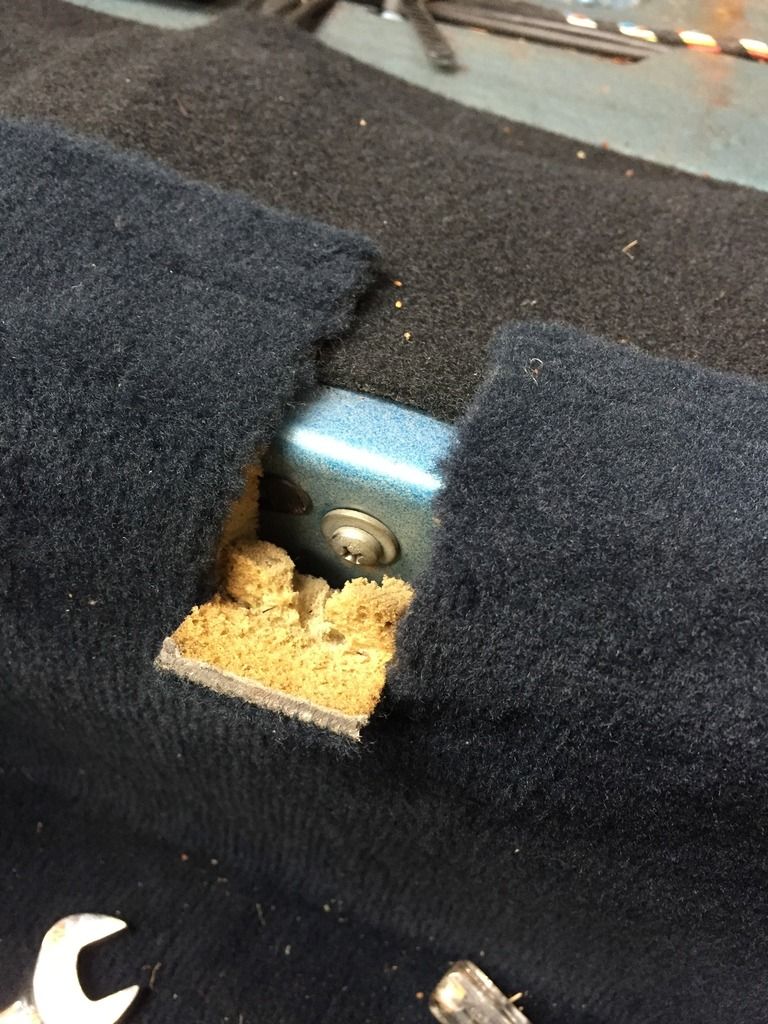
One of the 5mm bolts..the other one is on the other side of the flap, no pic.
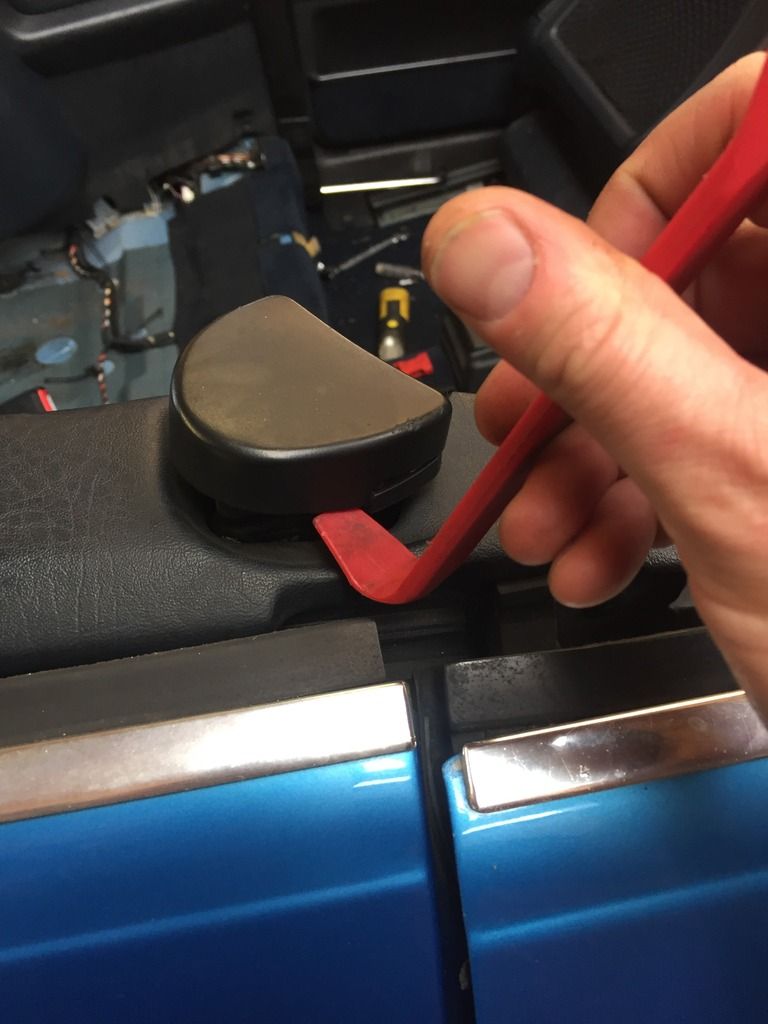
Next you need to remove the top of the seatbelt.. it has a cap over it which needs time and a removal tool to prize it up..just take your time, i lifted it from the sides a bit and it comes up at the back..
With this removed you can undo the 17mm bolt at the top, again note there is a washer under it..
I think thats about it for removing the side panel.. it should lift up and away, and you can feed the seatbelt through the hole so you can remove the panel completely.
After that you are free to tackle the seatbelt..
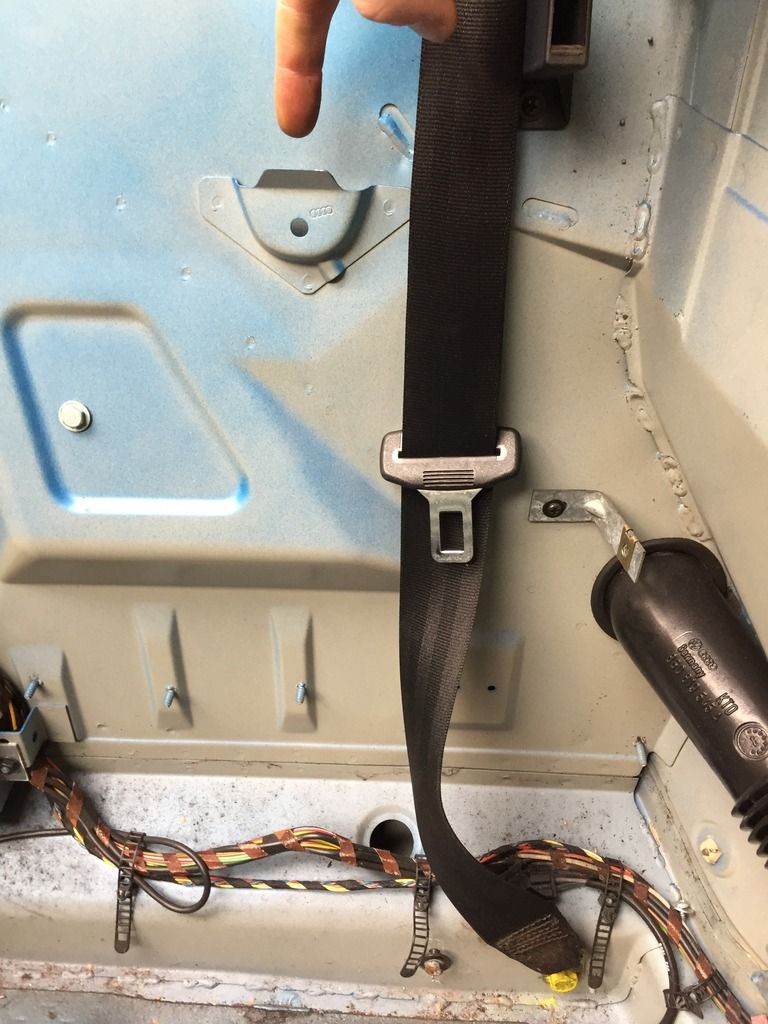
I disconnected the battery
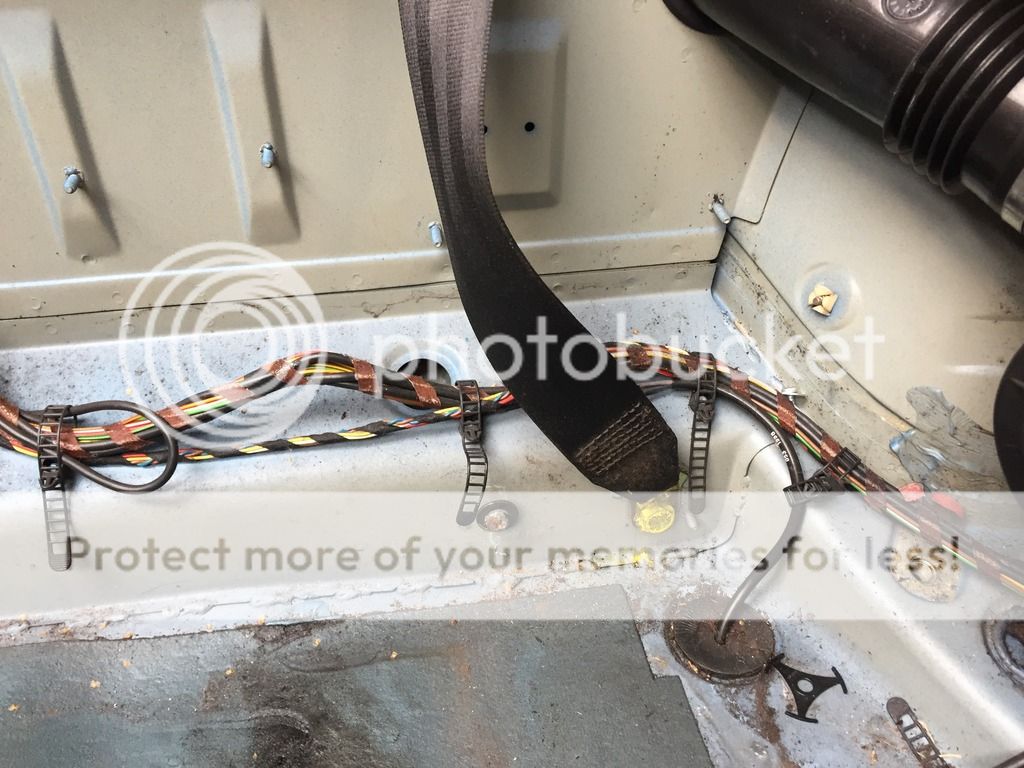
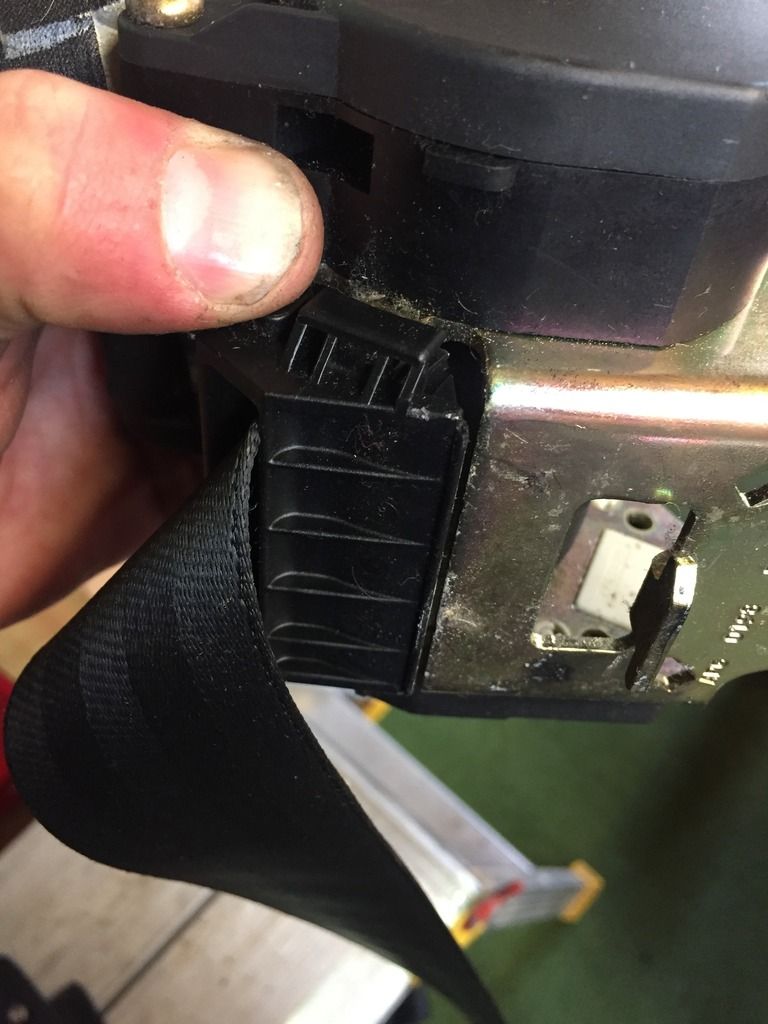
Then remove the pretensioner wire..i had to cut the tape first.. make note/take a photo of how the wire is routed...
Then theres a 17mm bolt under the seatbelt, remove this and then the seatbelt can be worked out of the hole on the car itself..
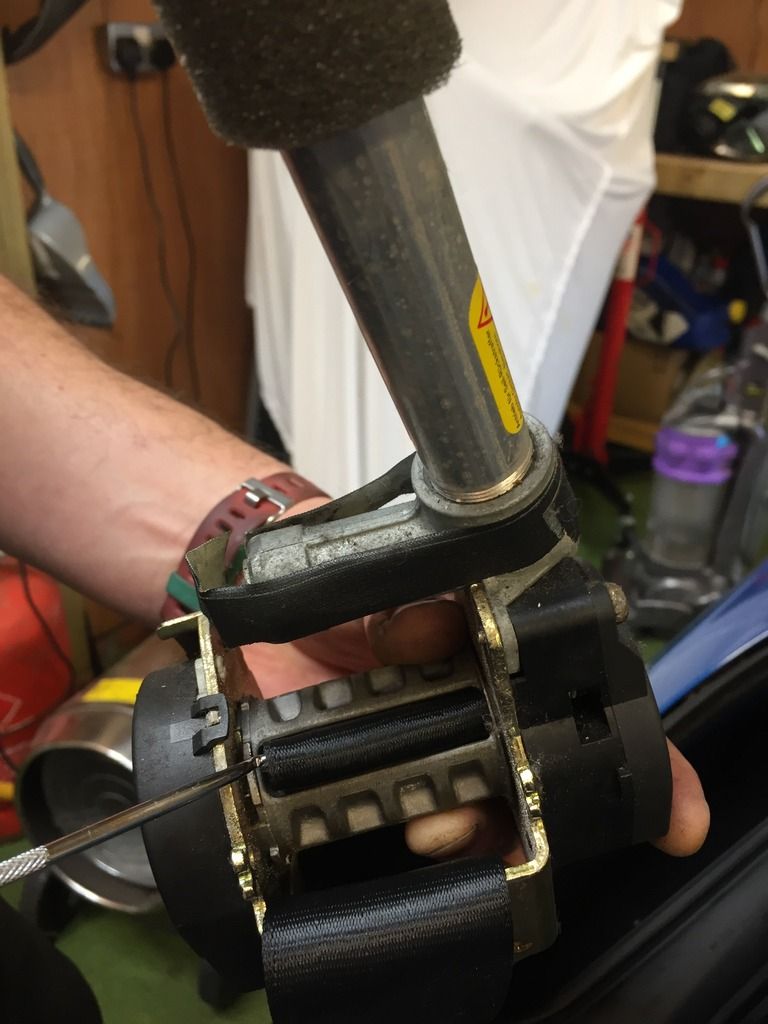
Right.. on to getting the seatbelt out of the thing itself..
First remove this cover it prizes off, just take your time..
Next.. take a break as you need concentration for the next bit...basically you have to hold the middle mechanism and stop it from unwinding by itself..
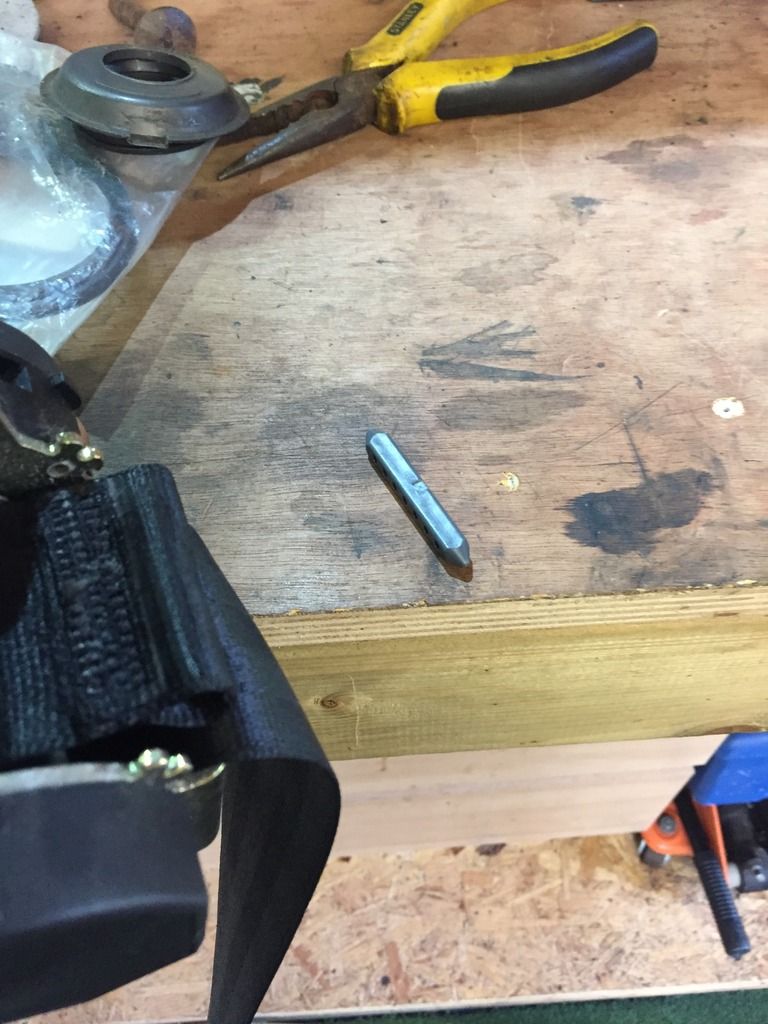
you have to get the seatbelt out, i used a small hook and pulled out and then you can remove the small grey pin...all this time
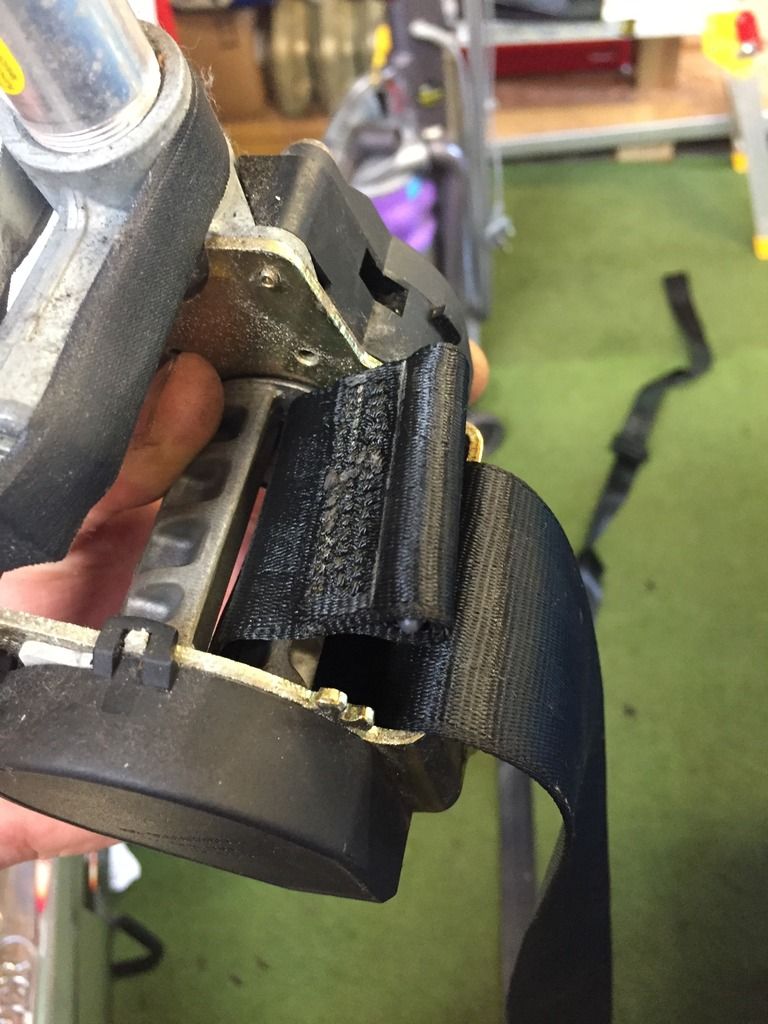
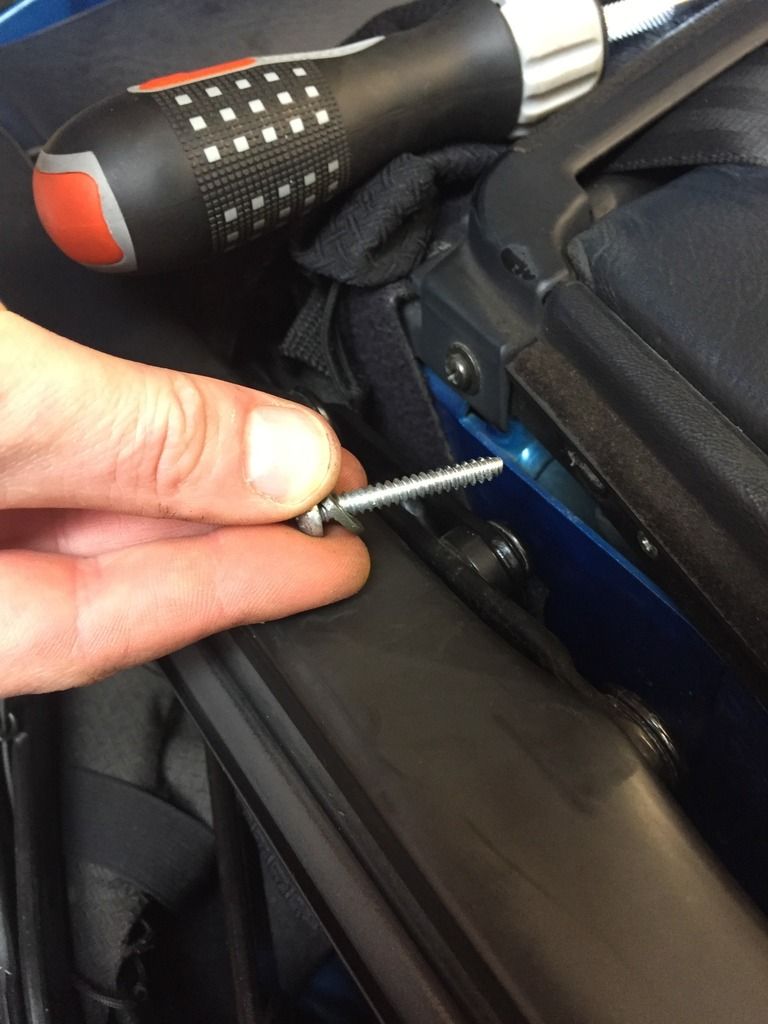
I then stuck a small screwdriver in to give myself a rest..
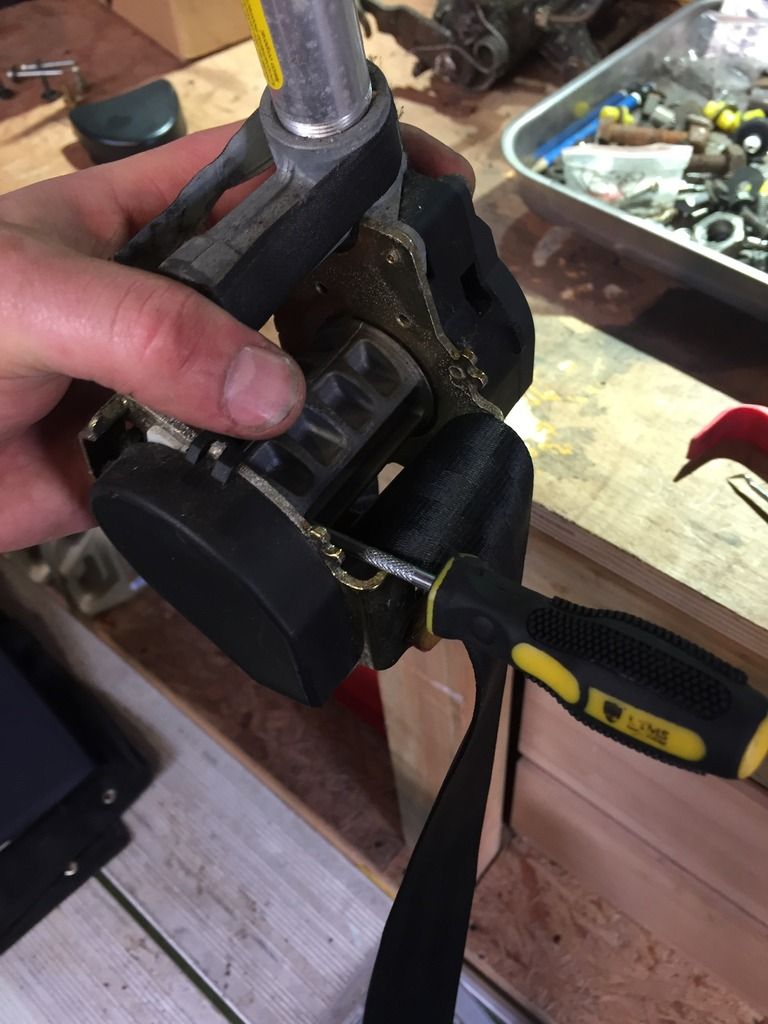
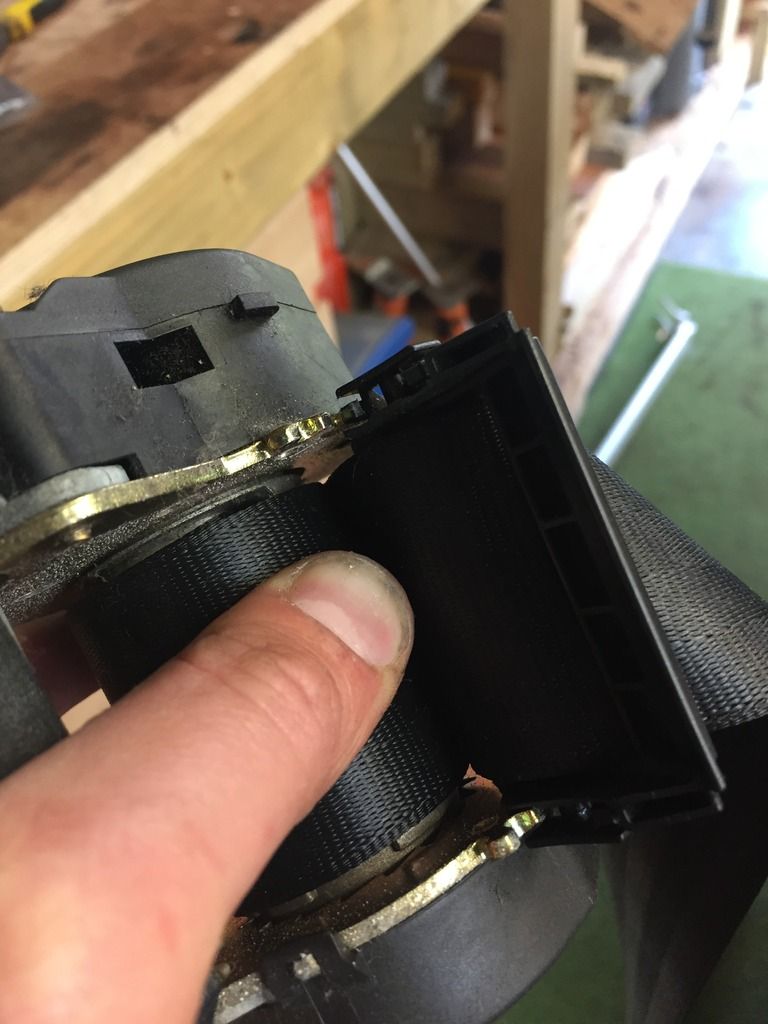
The its a case of twisting the inner part so that it gets tighter!! You need two hands! I think i got about 3 or 4 full turns and it got tight and didnt want to move more.... then stick the screwdriver back in and take a breather..
Then no photos... didnt really have a hand free.. lol
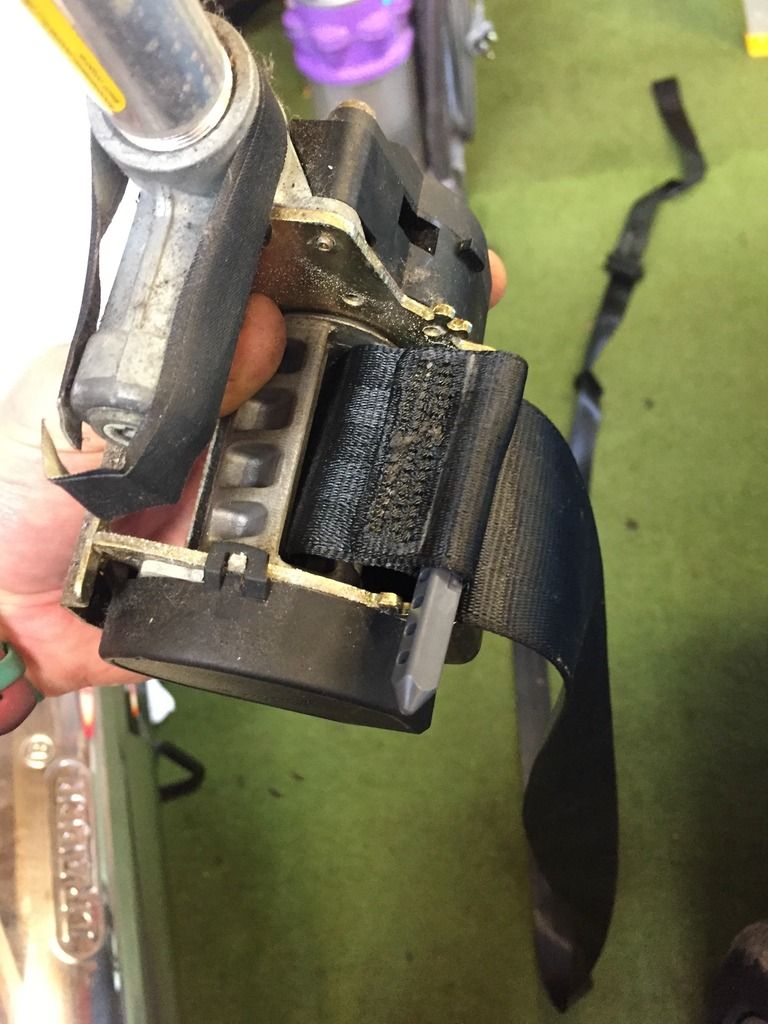
But re-thread the seatbelt back through the gap. It goes through the smaller of the two gaps, and out on the bigger gap (which houses the grey pin).. i takes a bit of work to get it back through, I kept my small skinny screwdriver in and forced the belt passed it, just ensures that if you left go of the mechanism it doesnt all go to rat shit!
Get it thread through and get the pin back in, and get it seated properly.
The its just a case of putting everything back together ie in the best traditions of Haynes, its the reverse...its a bit tricky getting the side panel back in the correct spot, but just take your time..
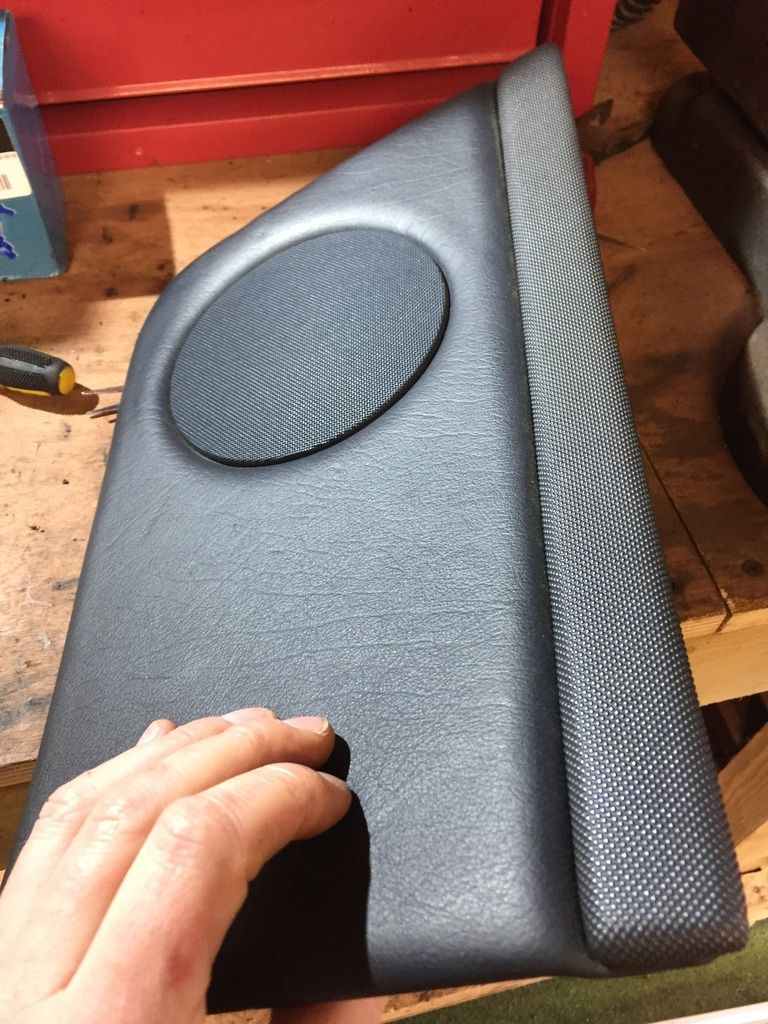
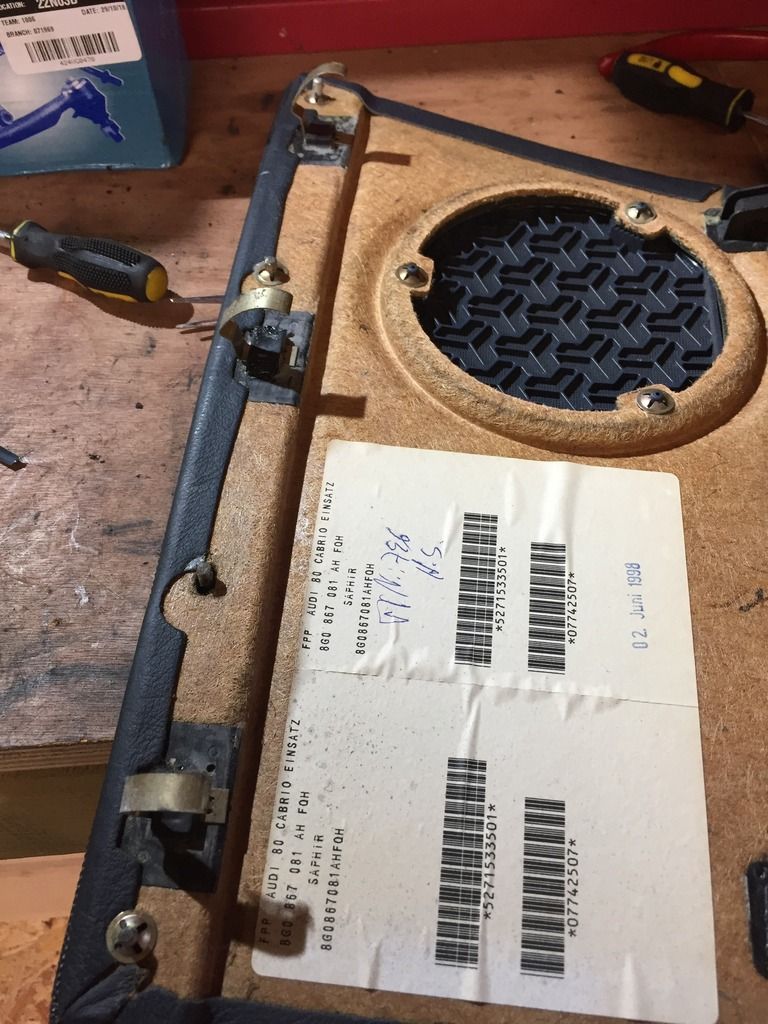
Ill add here a couple of photos of the back of the speaker cover for people to note... i went at this bit first and got it off, but dont try it.. the clips in the other side are brittle and i broke one of the tabs... i plastic welded it back together with soldering iron and zip tie, but yeh, you dont have to take this off the side panel itself...
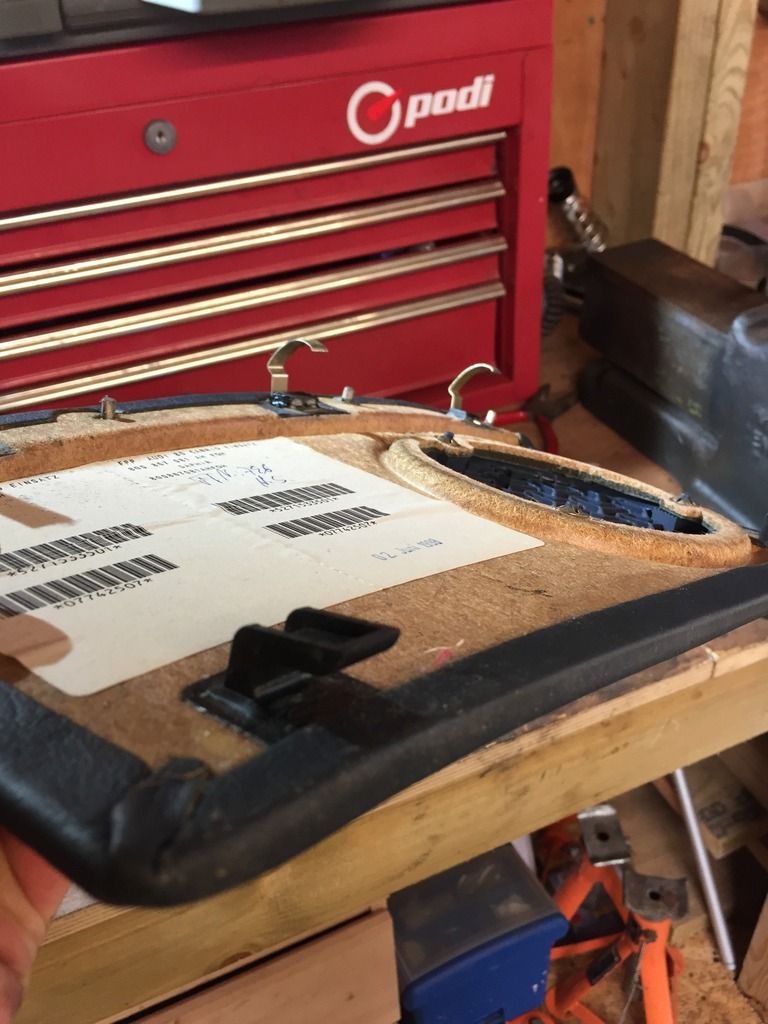
Was this middle clip i fixed..
Hope this makes sense to folks and they find it useful.. any questions just ask..


 Linear Mode

